
- August 11th, 2016, 6:28 am#4876606
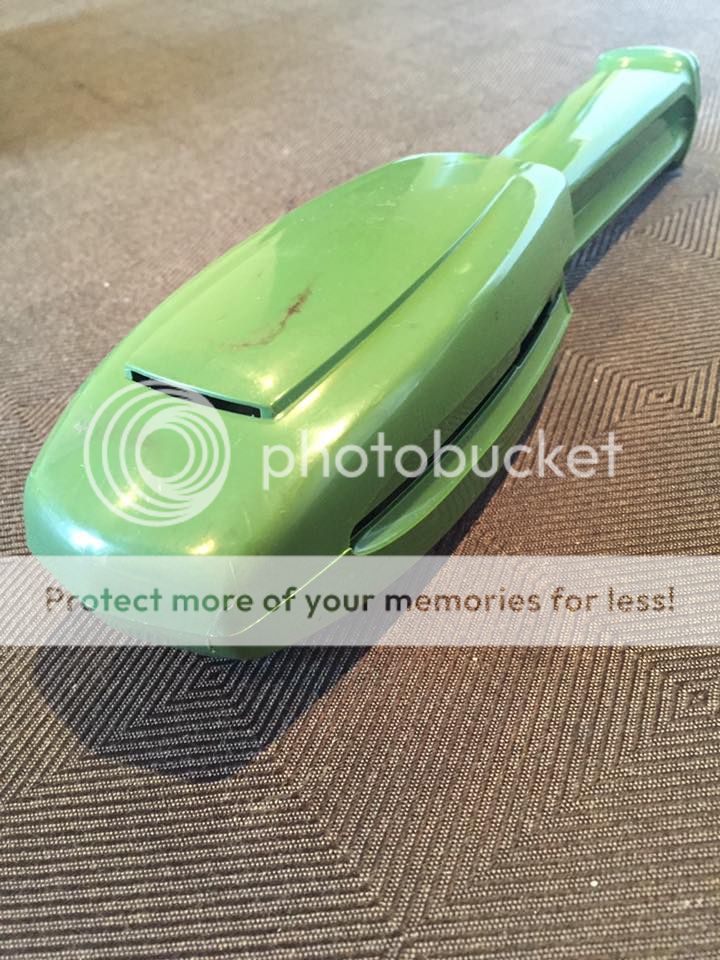
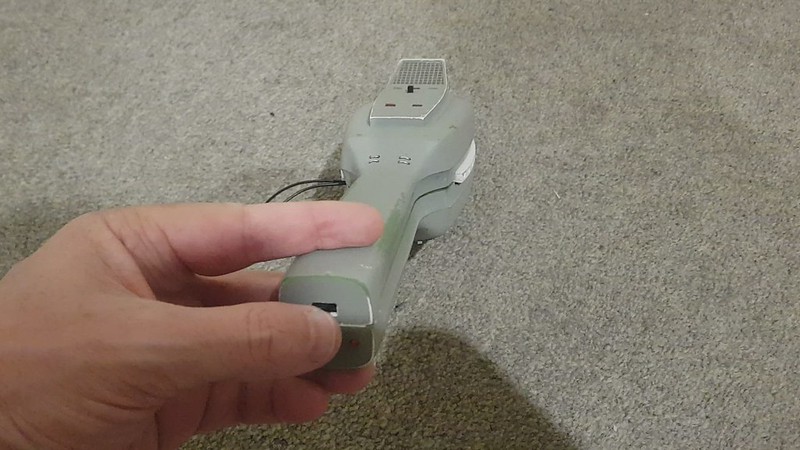
So I finally decided to take the plunge and have a crack at converting an iona shoe polisher.
I originally acquired the electronics kit when I backed the Mighty quite a few years ago and it's been sitting in a box gathering dust ever since. I originally purchased a Shell kit from an old member which looked pretty good but the wings were crap and it put me off putting it together.
For me the biggest pain in the arse was going to be fabricating new wings to fit the electronics. A couple of months ago I was in a ah F@$k it mood and decided to start, the next thing I knew I had suddenly purchased a green iona polisher and suddenly found myself pouring over reference pictures again
So... on with the pictures
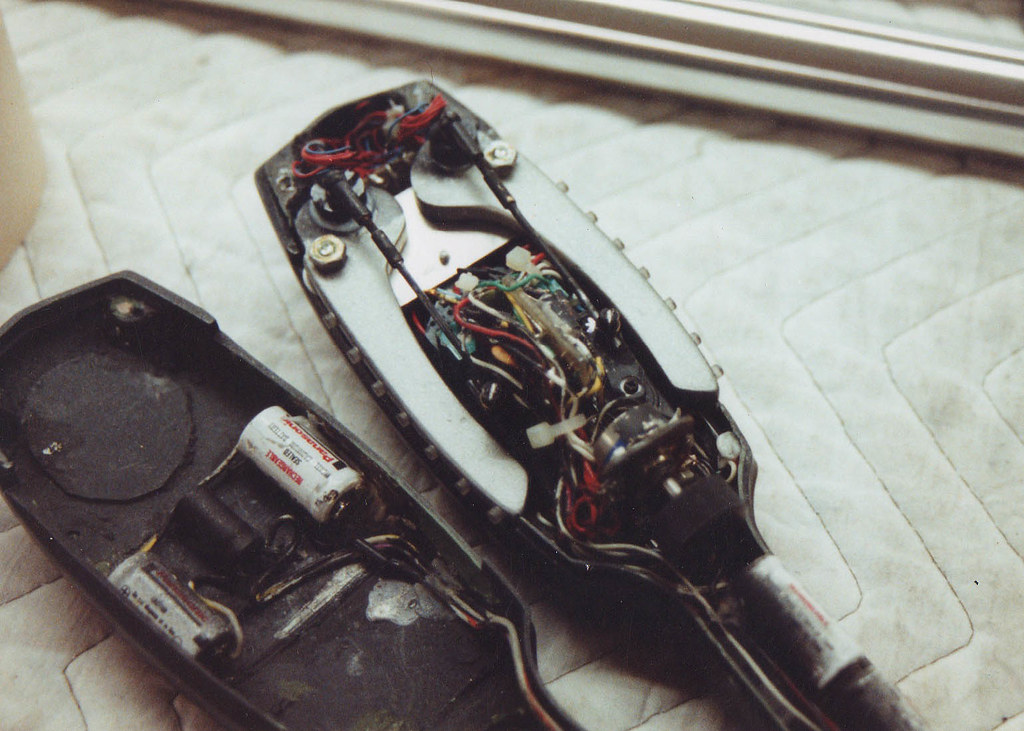
Typical Pke snaps.... everyone takes those :p

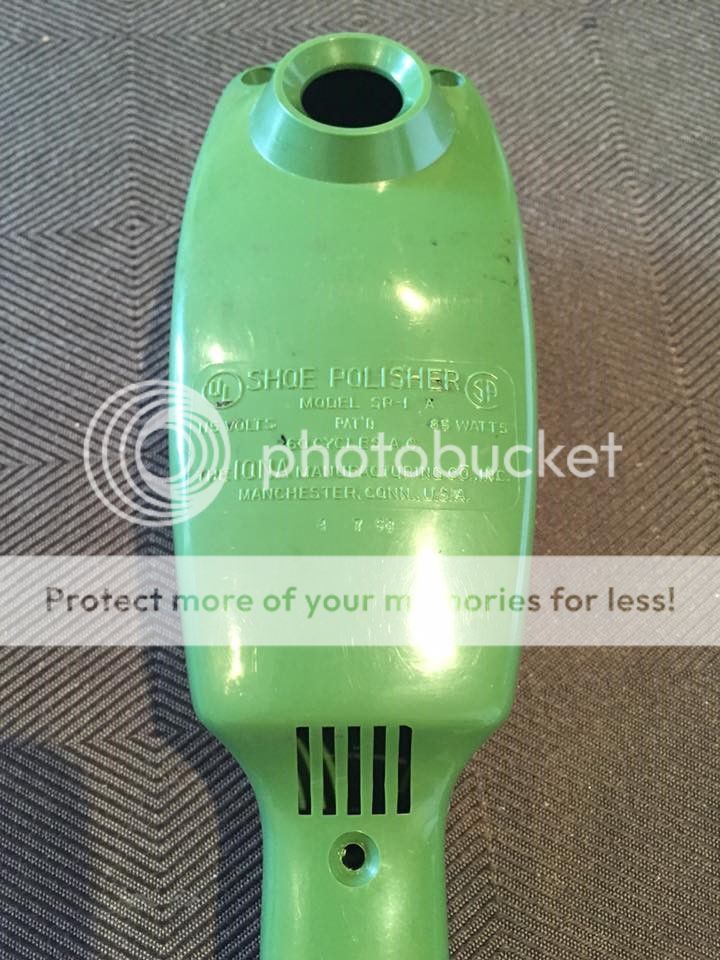
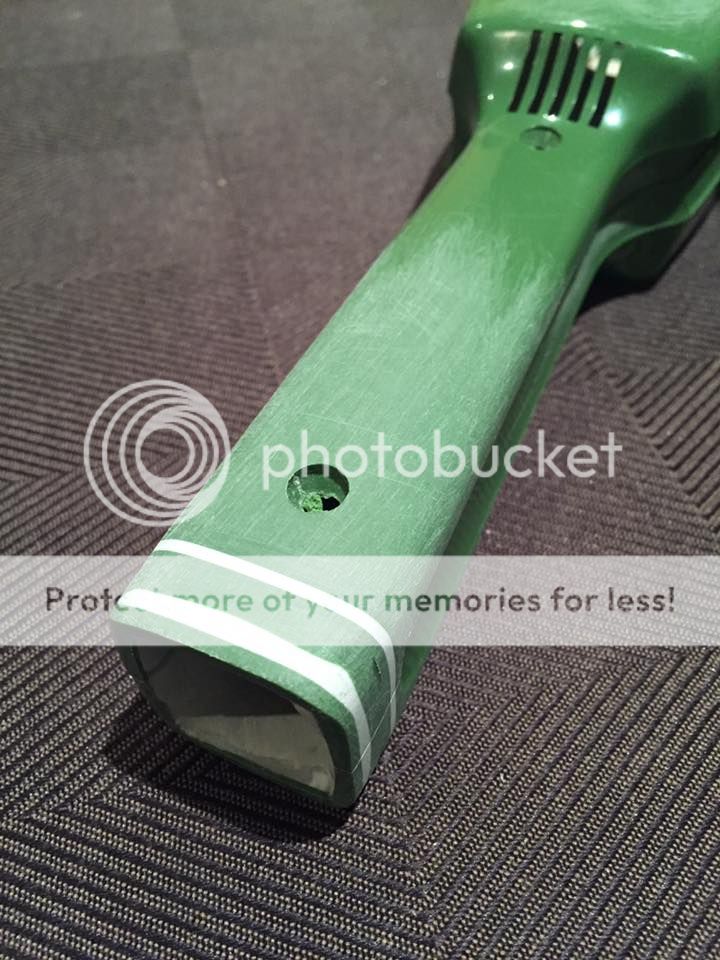
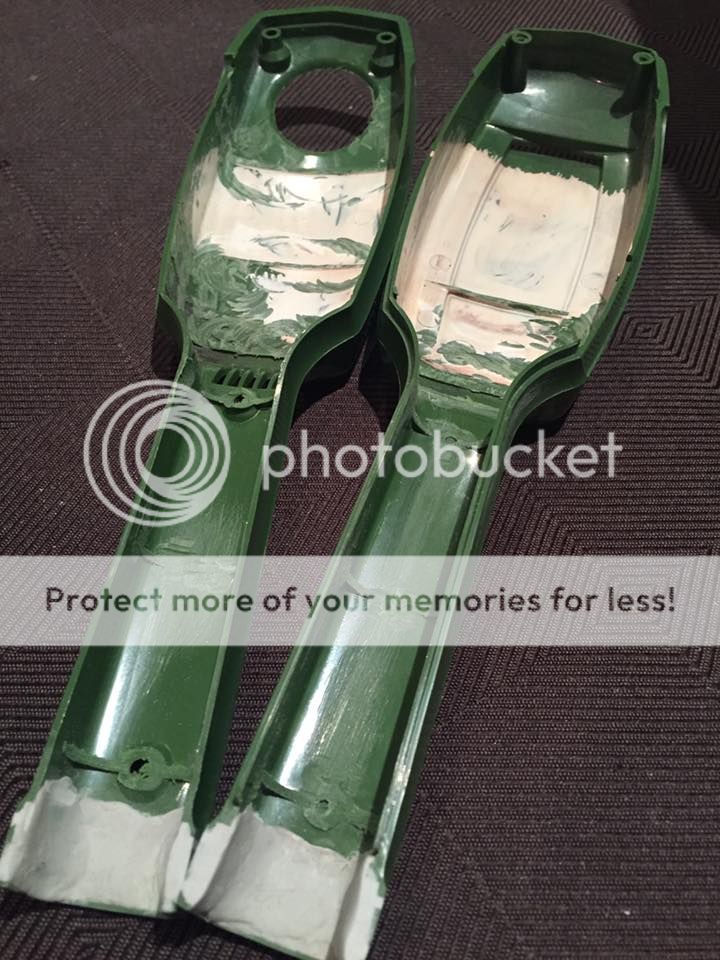
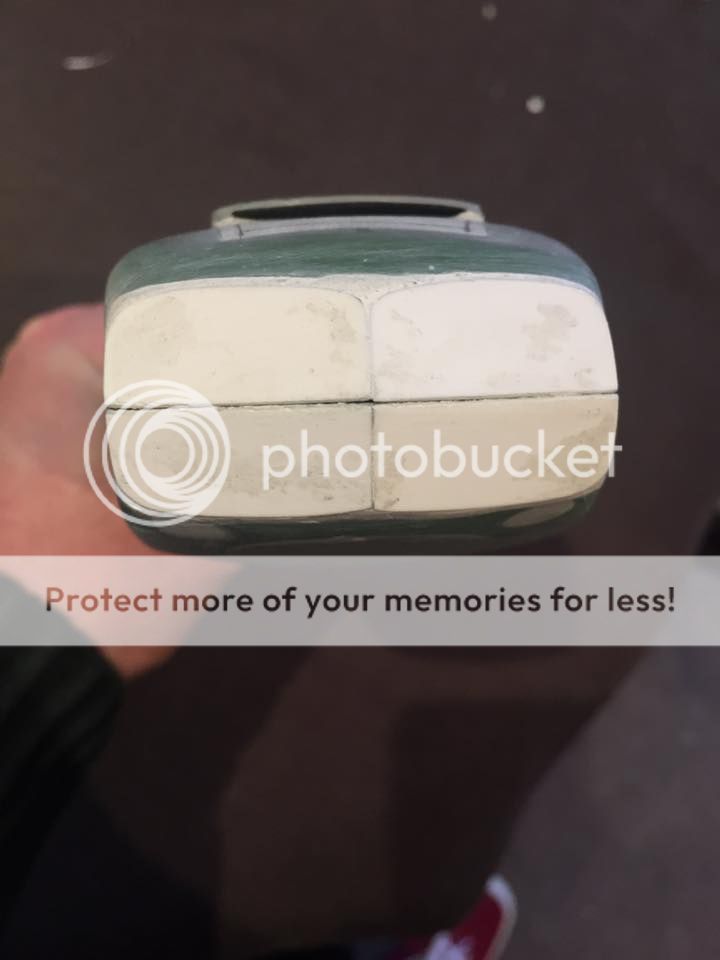
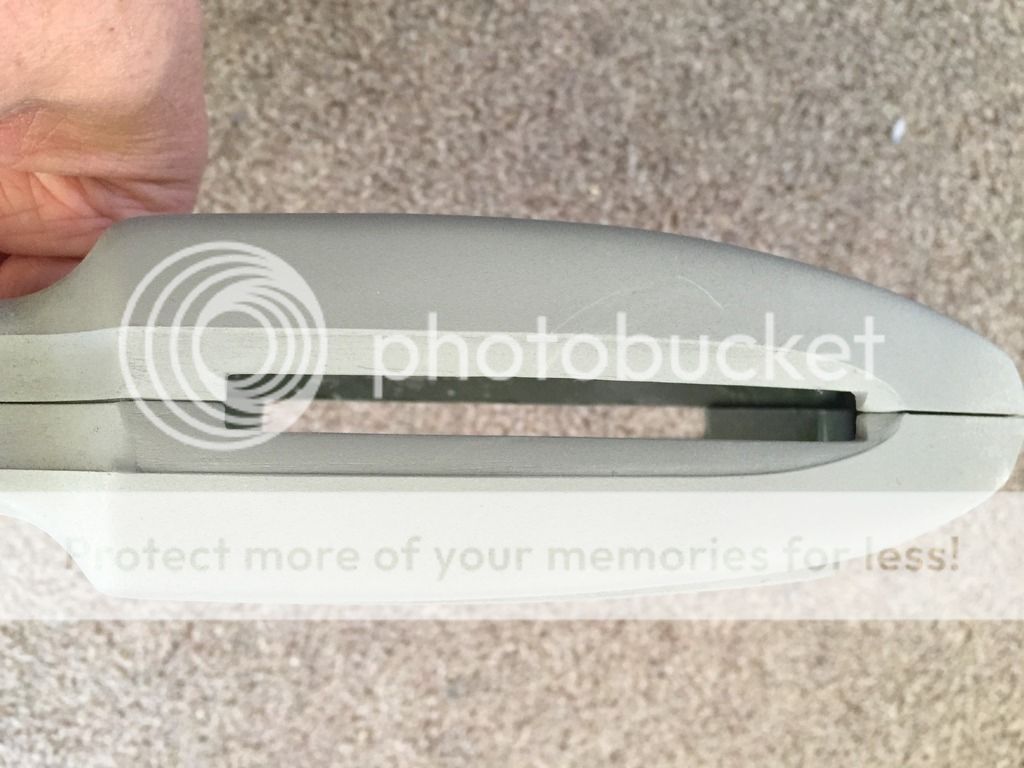
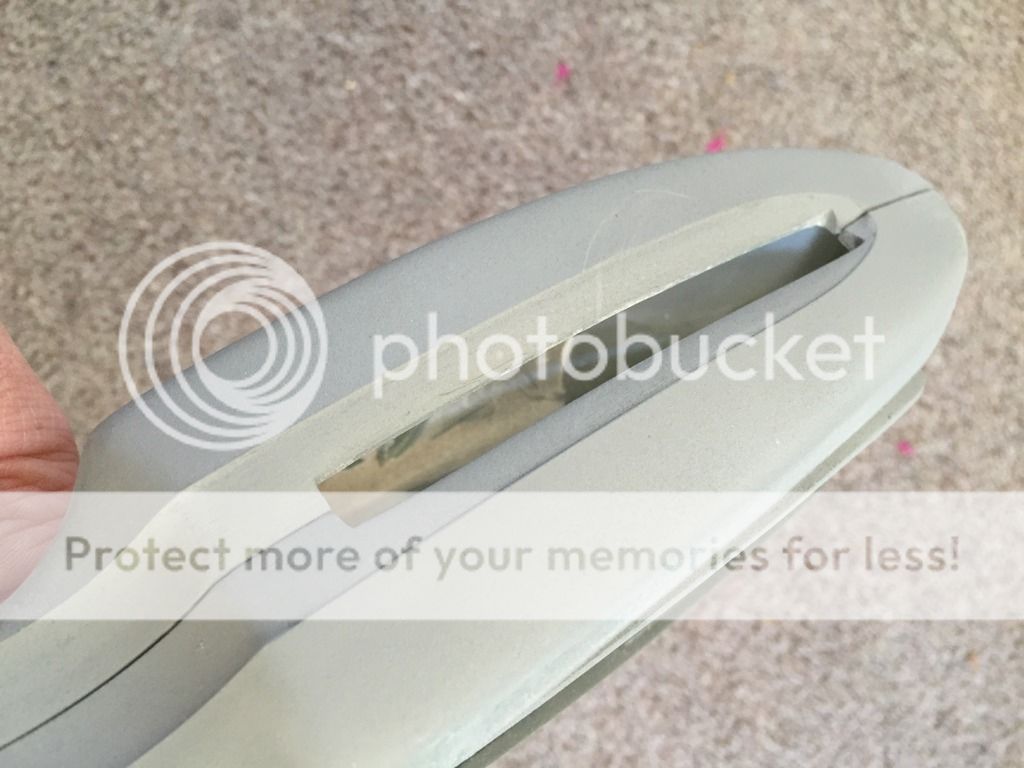
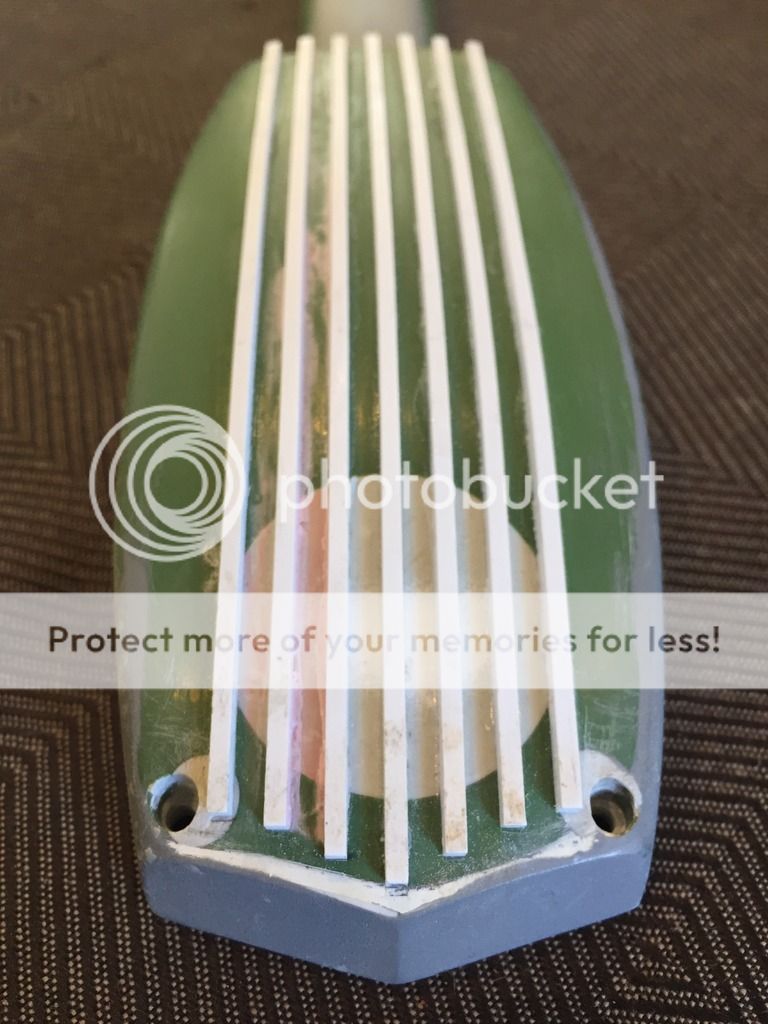
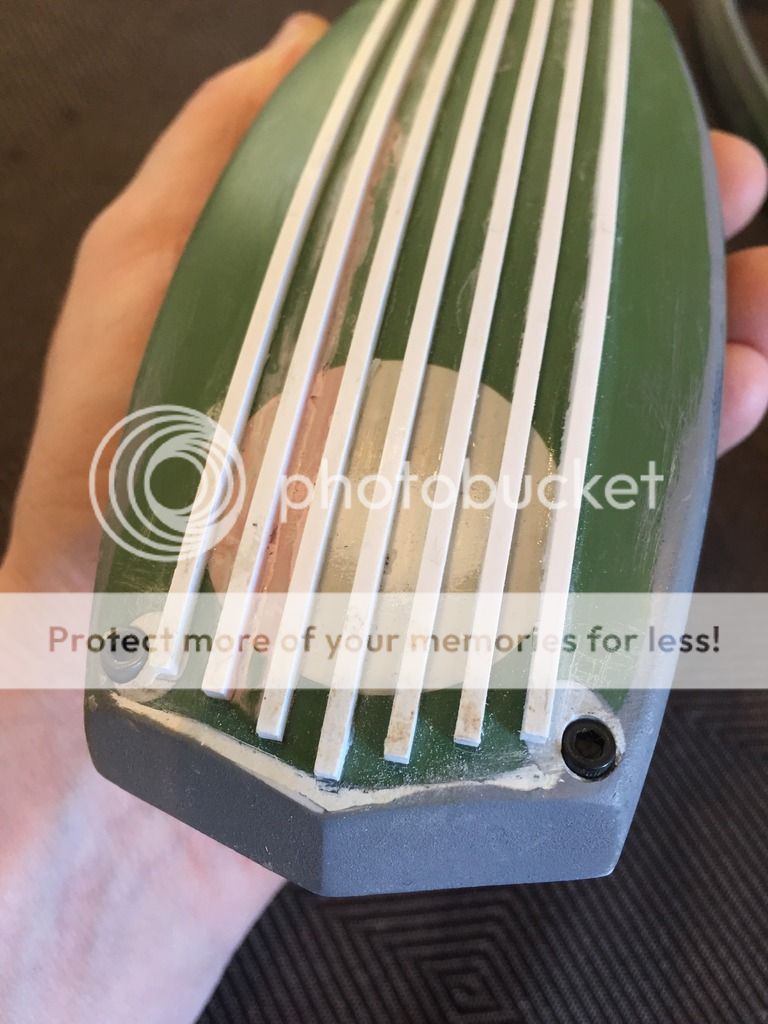
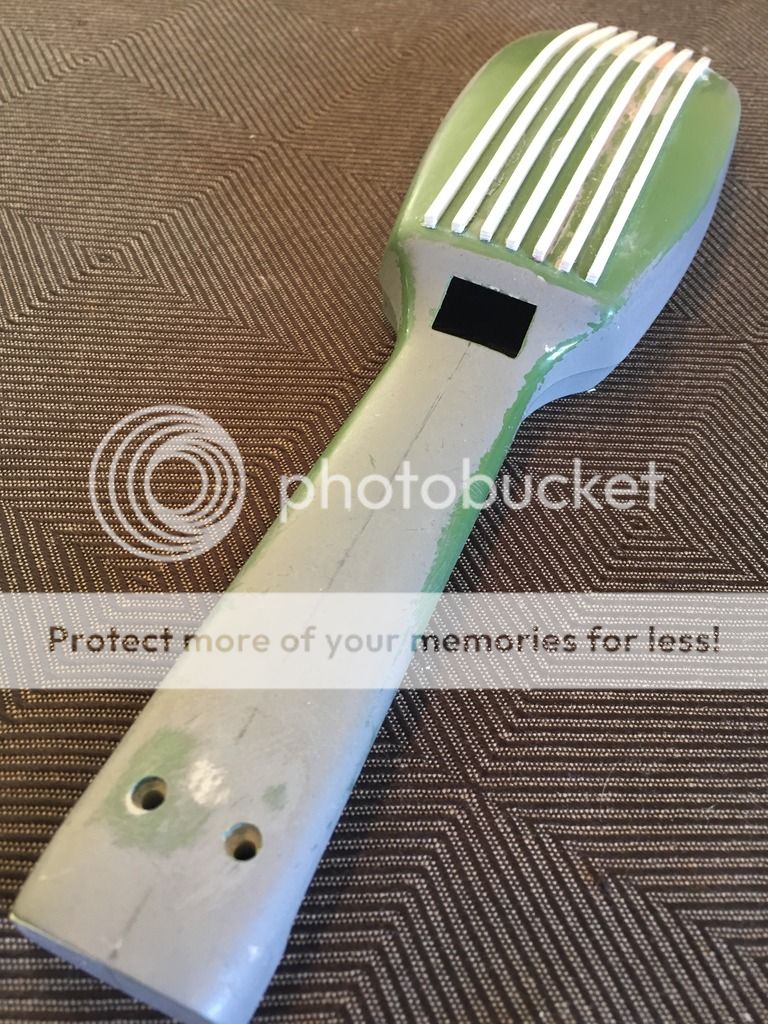
Some of the first things I attacked was filling the inside of the handle and sanding off the flange plastic. Very similar to sharpening the front of the pke, this was a pain in the ass. There is very little room for error as it's easy to take too much off and ruin it. I also removed the buffing hole from the bottom of the polisher and filled that in as well.

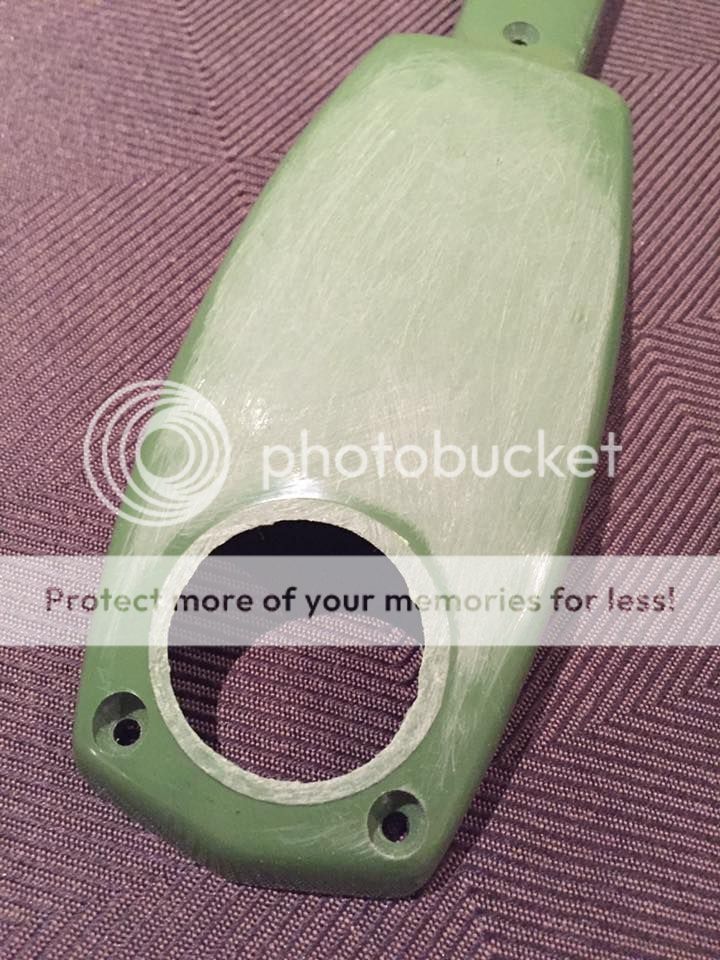
Also sanded down the interior structure removing excess bit of plastic
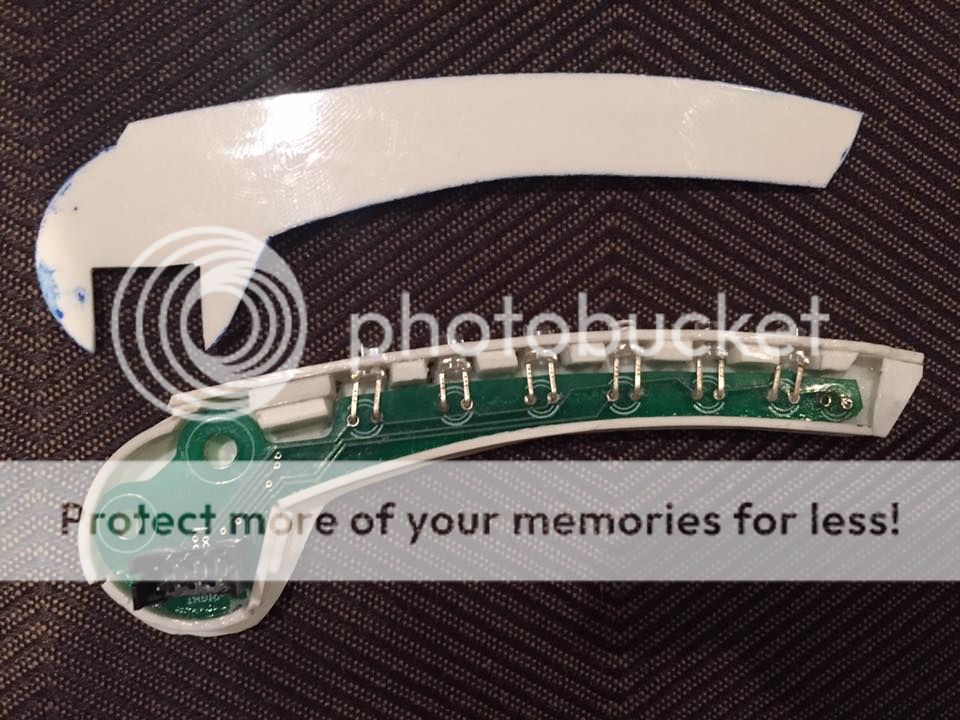
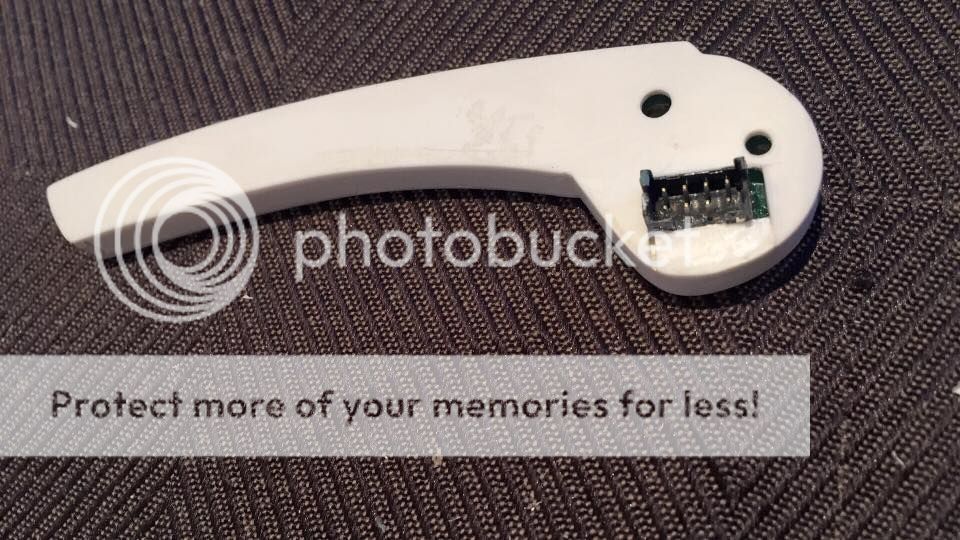
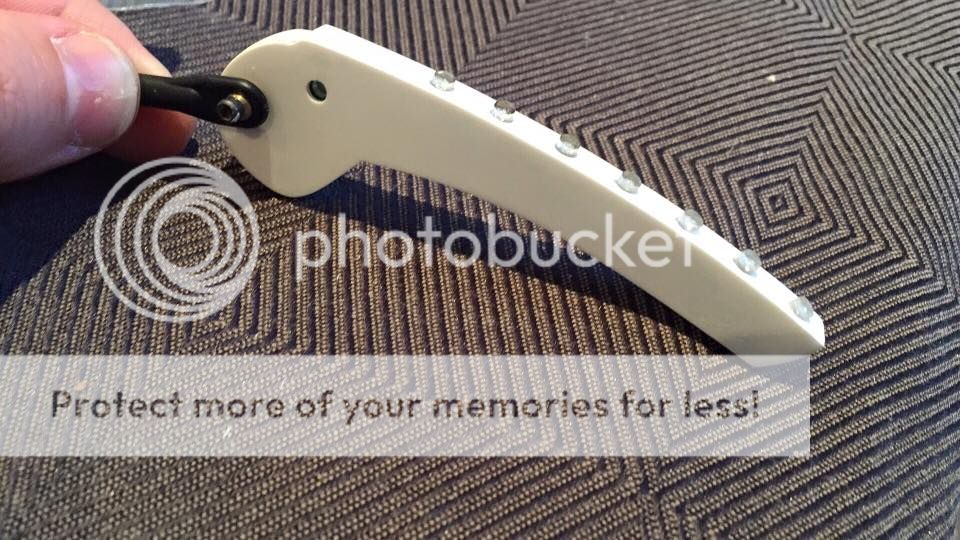
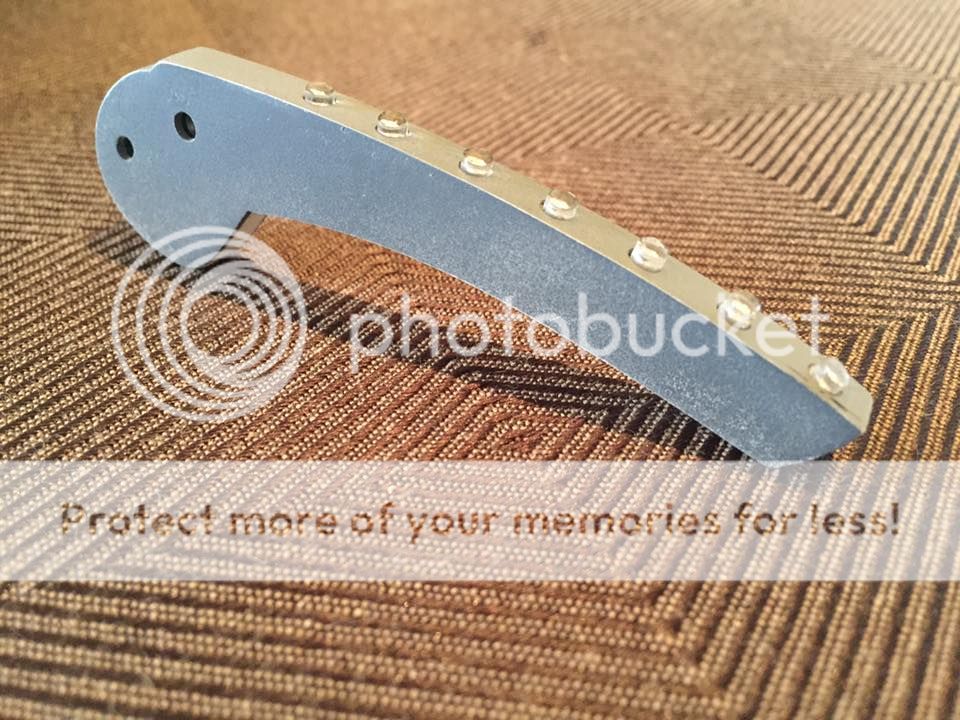
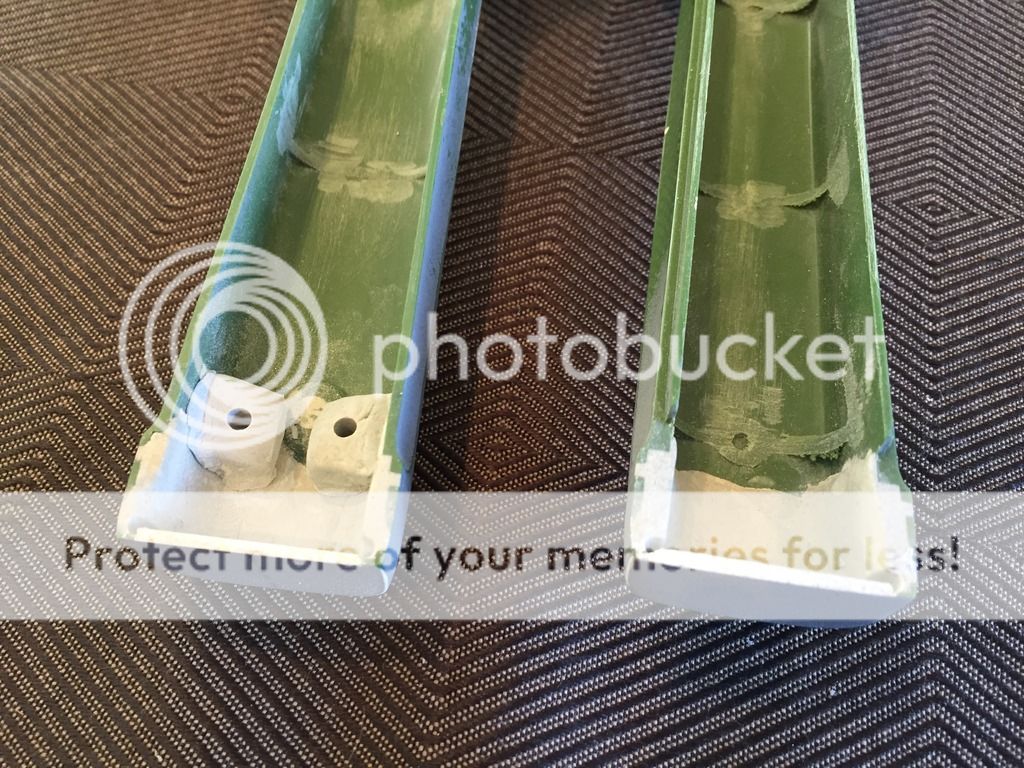
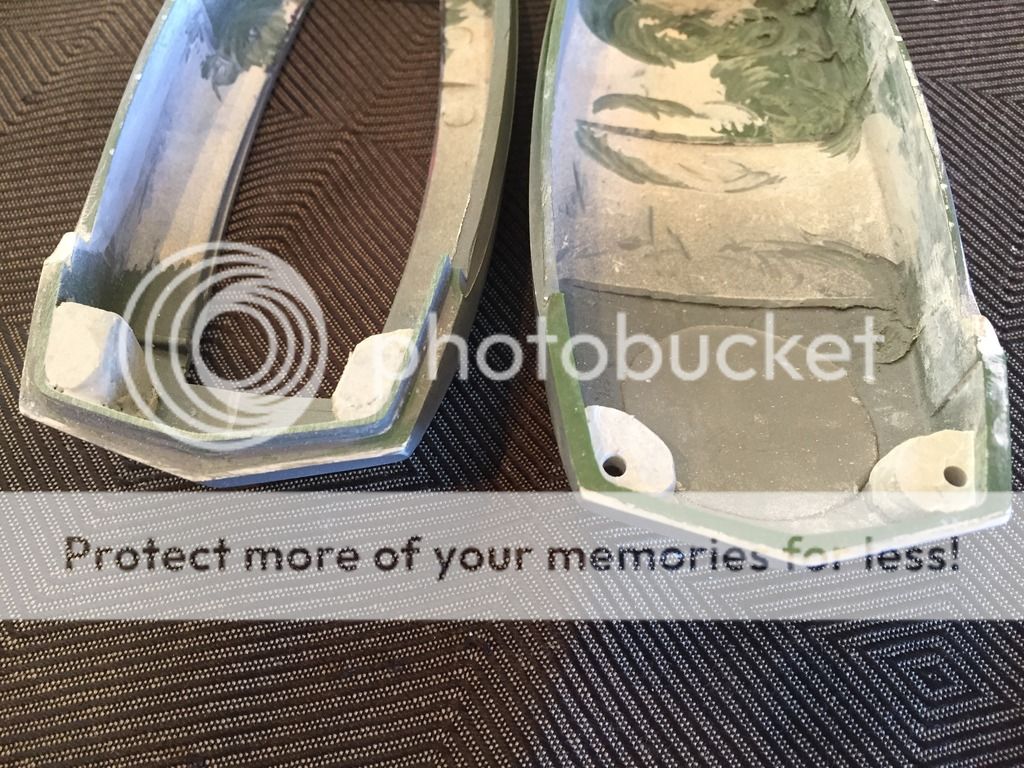
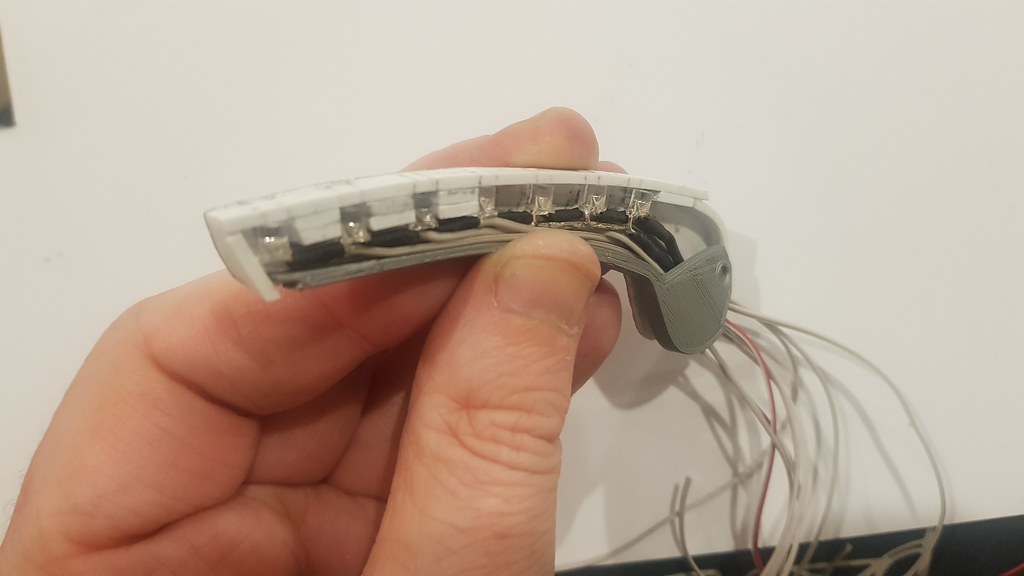
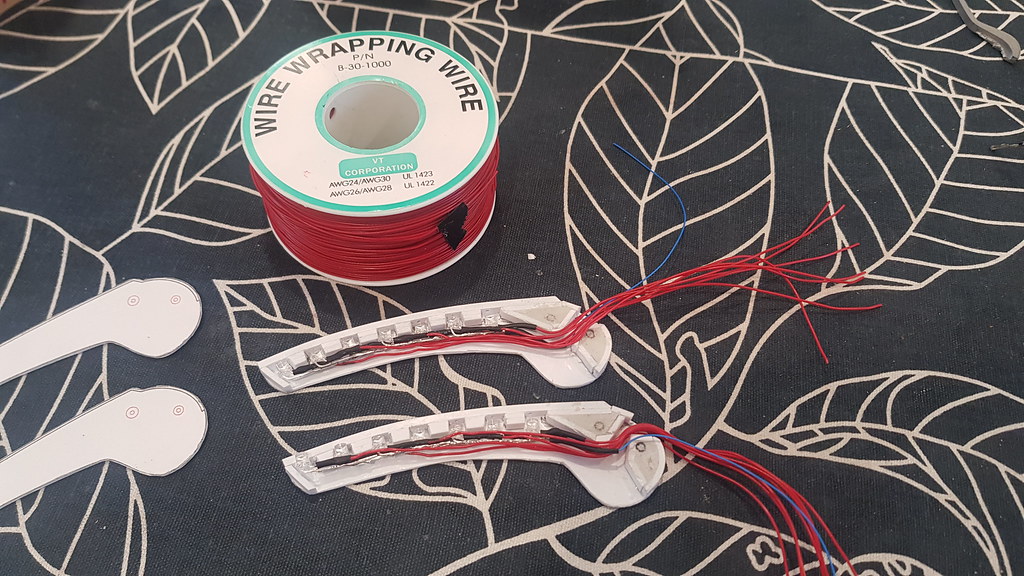
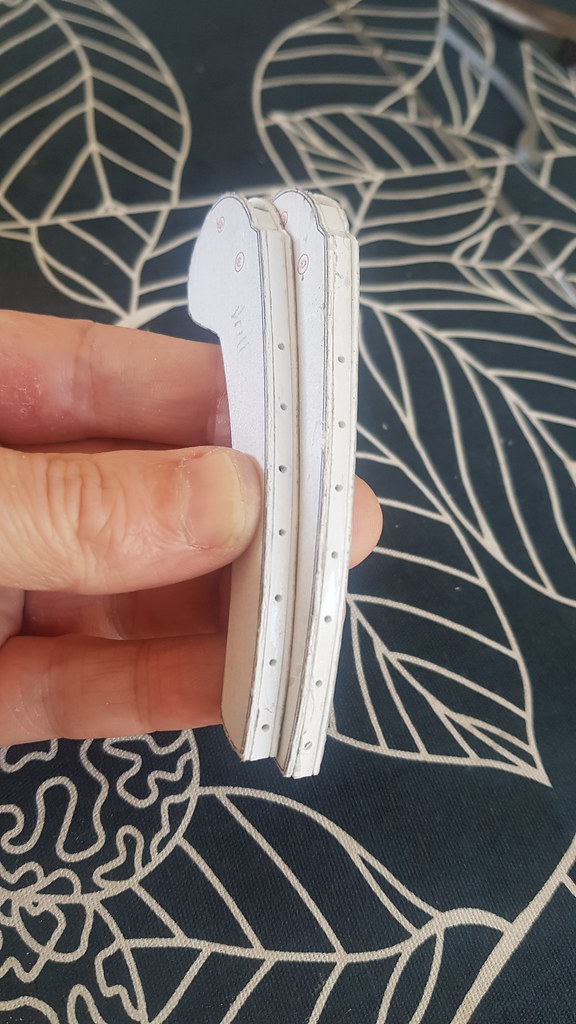
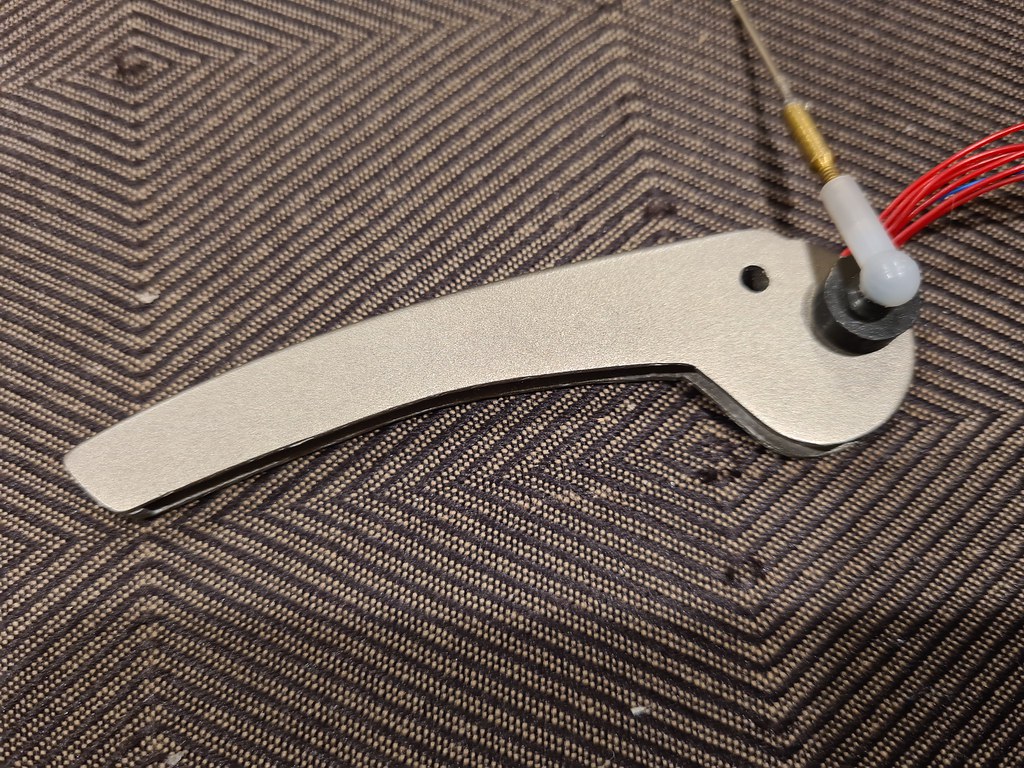
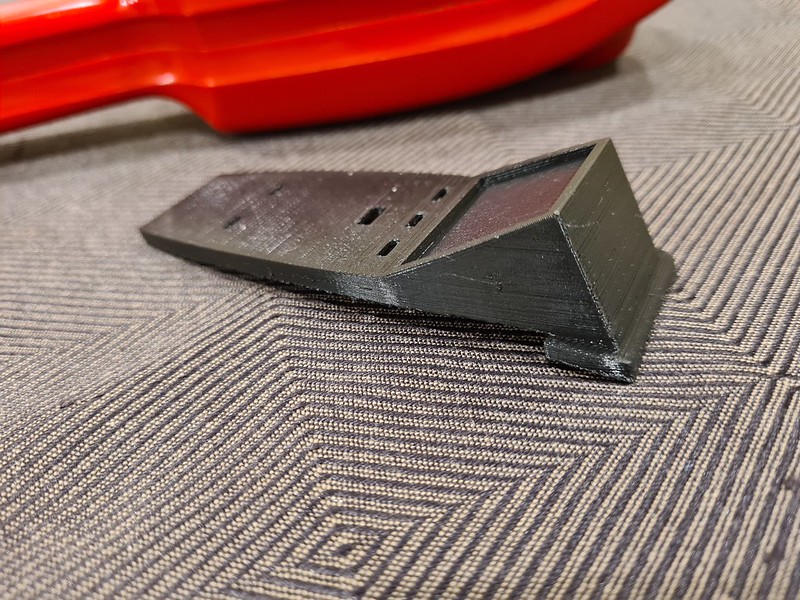
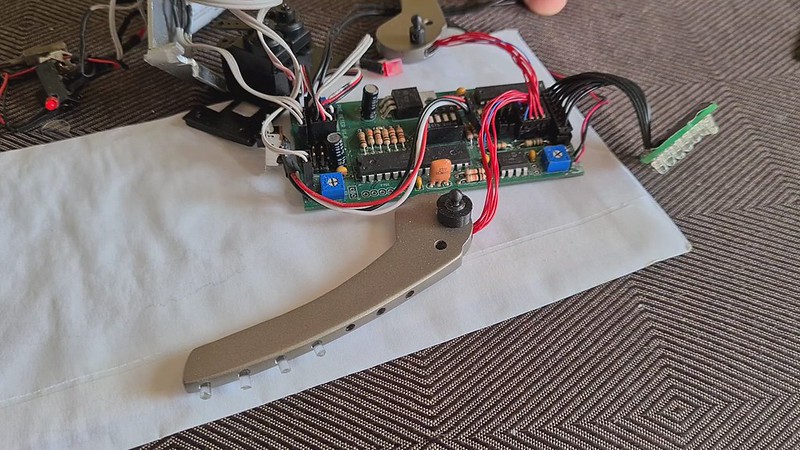
After looking at many reference pictures and making blueprints and measurements in illustrator I started scratch building Pke wings out of 1mm styrene plastic. I wanted them to look as close as I could to the real wings but be able to pull them apart for repairs if need be. So I made the fit together like a puzzle, the bottom part which is glued onto the circuit board slots into the top piece and is held in place with the wing screw. The seam will be hopefully hidden when assembled.

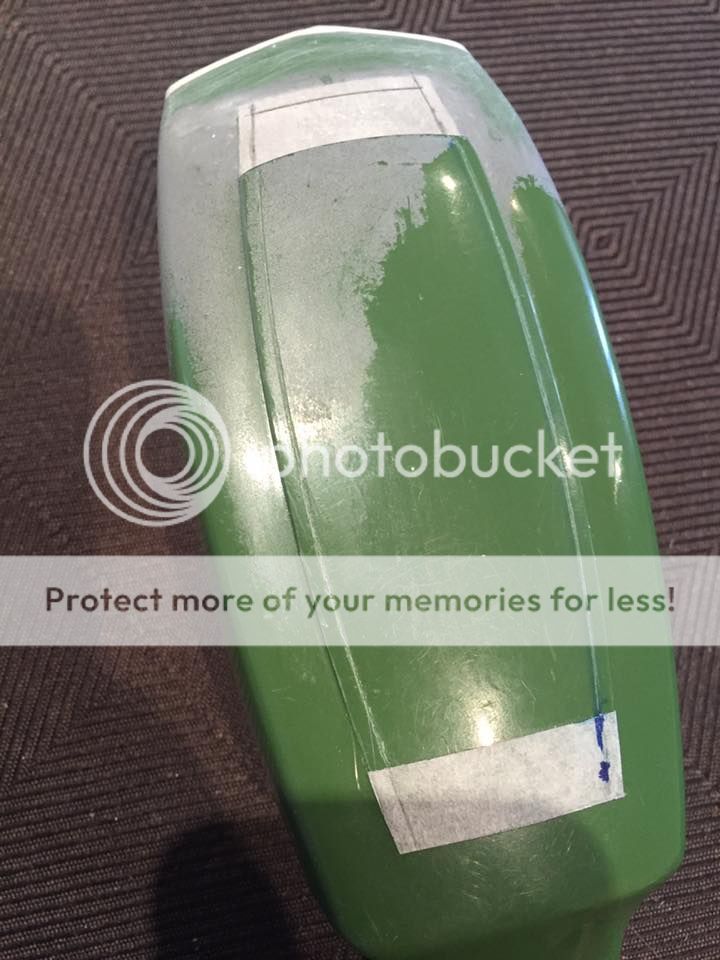
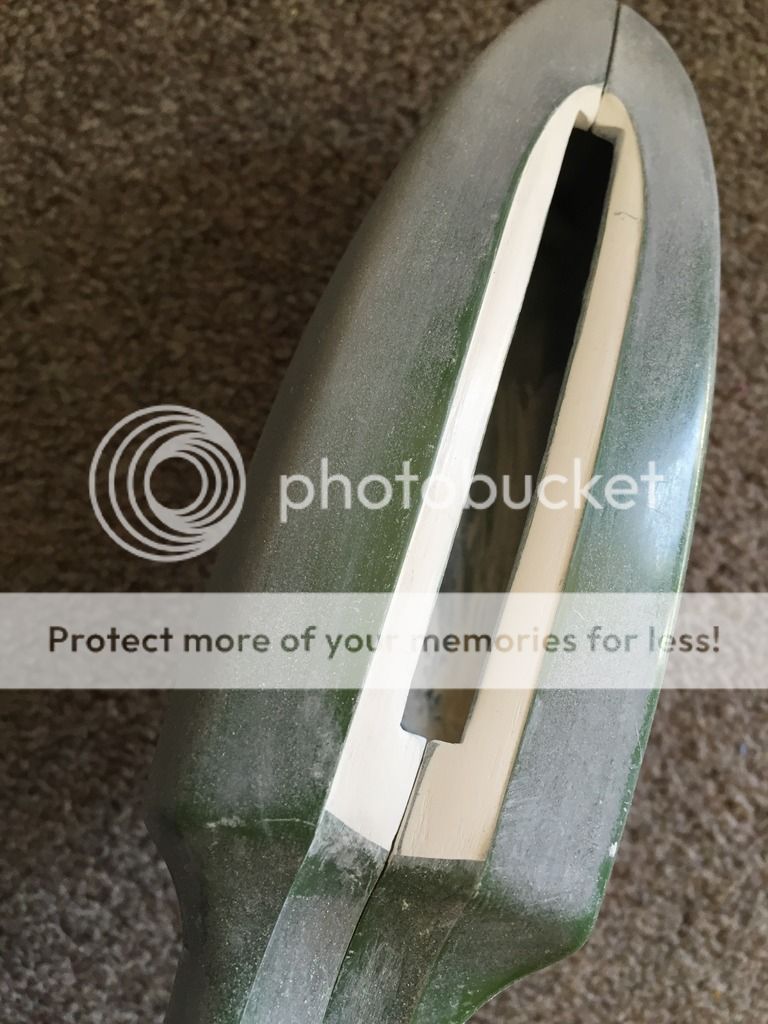
Then had a crack at sharpening the front of the pke. This was much more stressful than the handle...

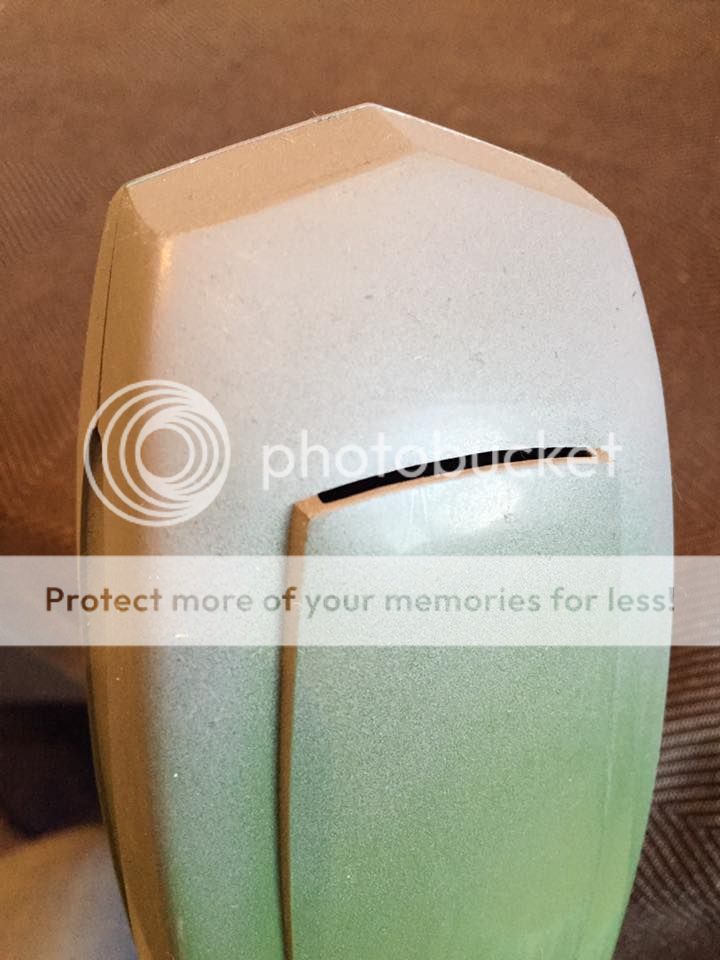

In the end I felt like id taken too much off , so after an attack of OCD I measured the shapes I wanted out of styrene and glued them in place on the front and then blended them in.
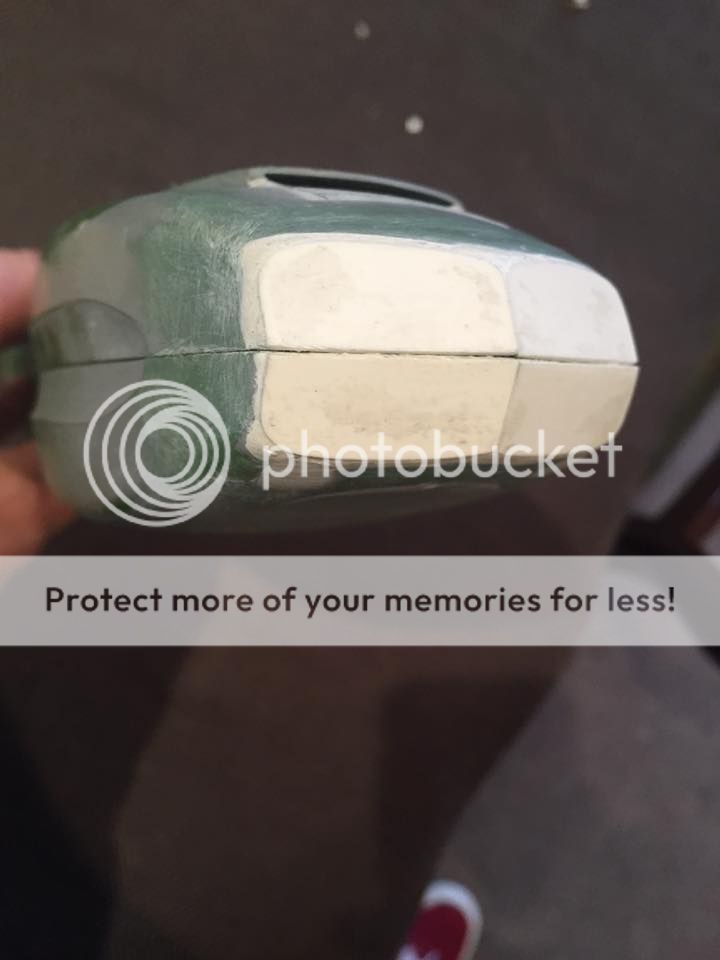
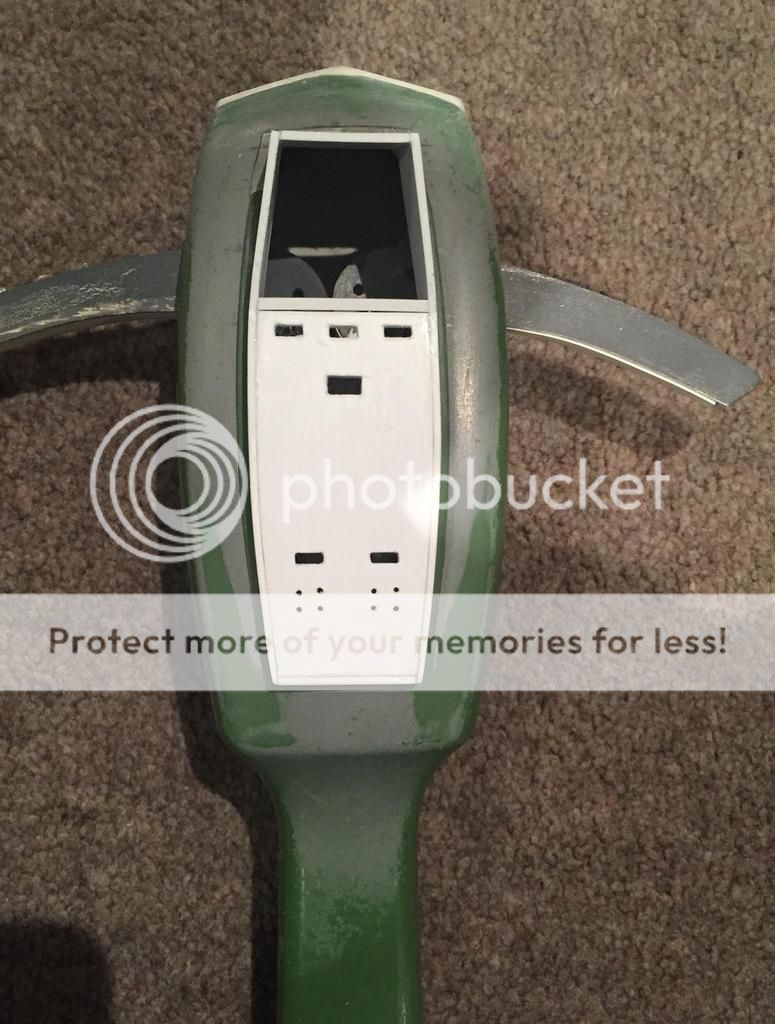
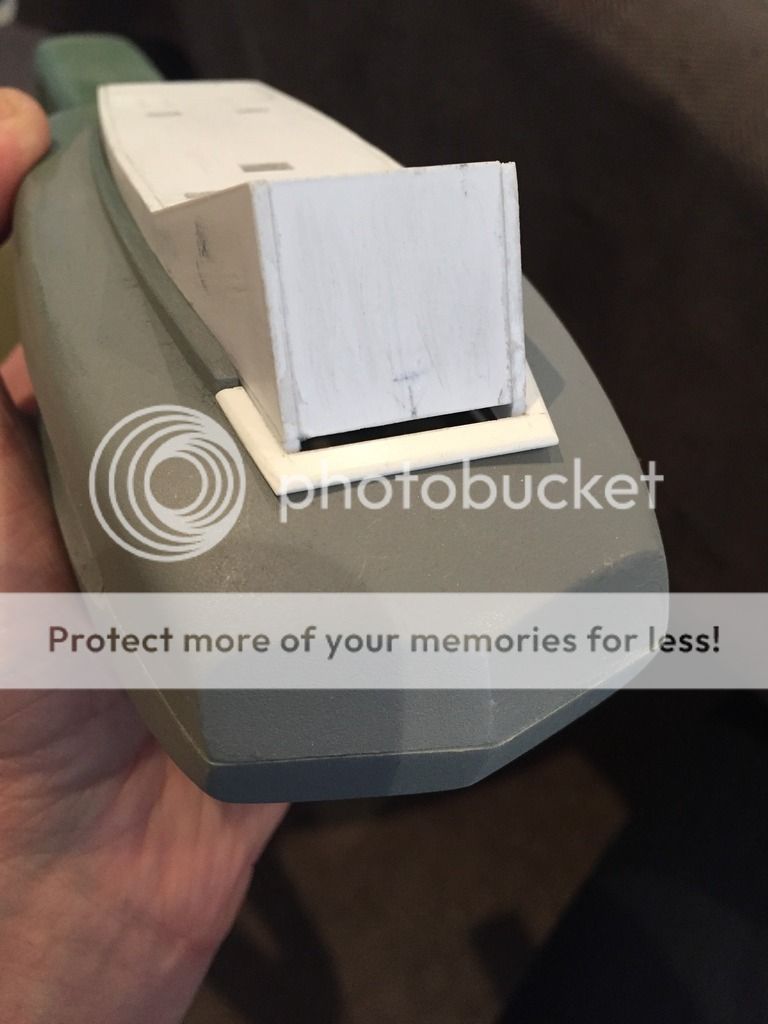
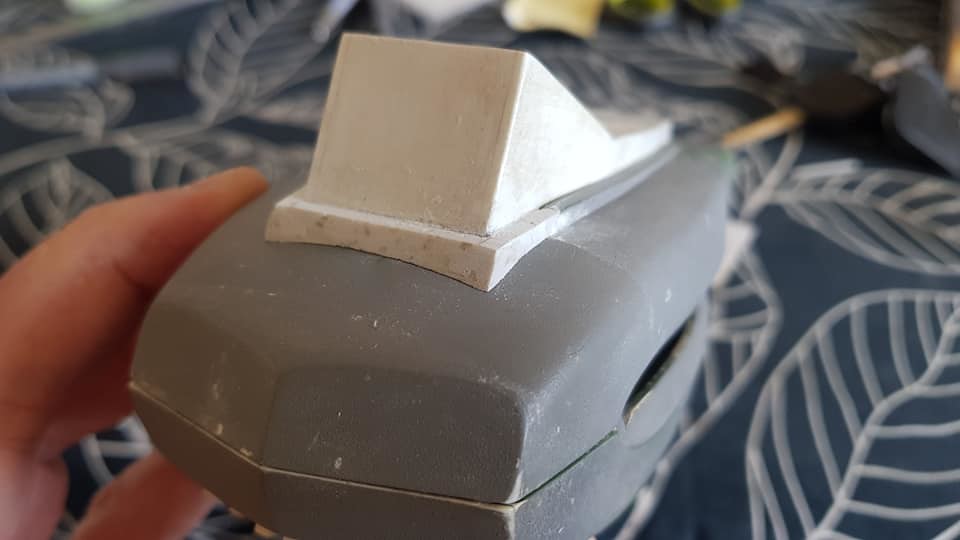
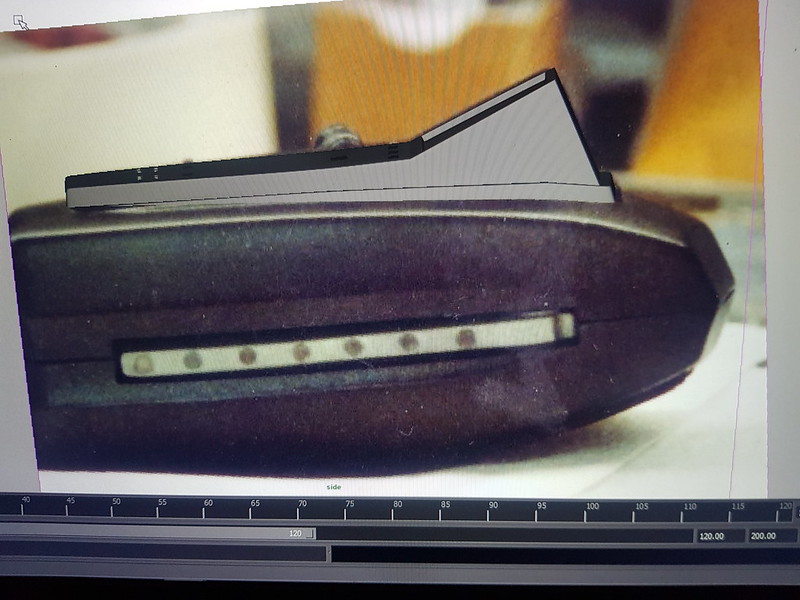
After looking at how the original Pke was put together I worked out a plan of attack for doing the instrument panel on the top. As the top of the shoe polisher is so curved it seemed the best way to get something box like to fit nicely was to cut a large hole and fit the panel inside. Looking at reference pictures this seemed to be what they might have done
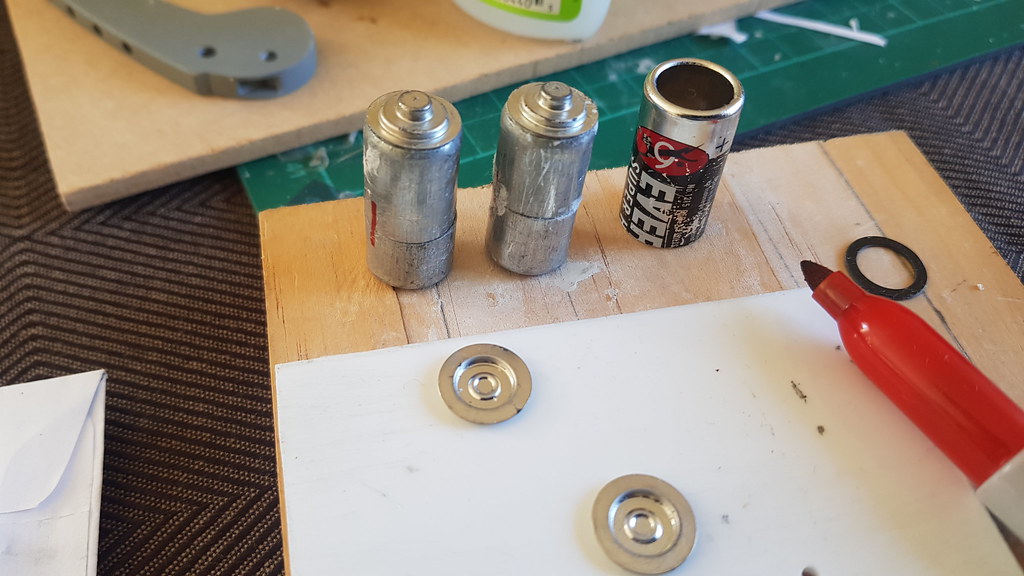
So I made a few pen lines and measurements
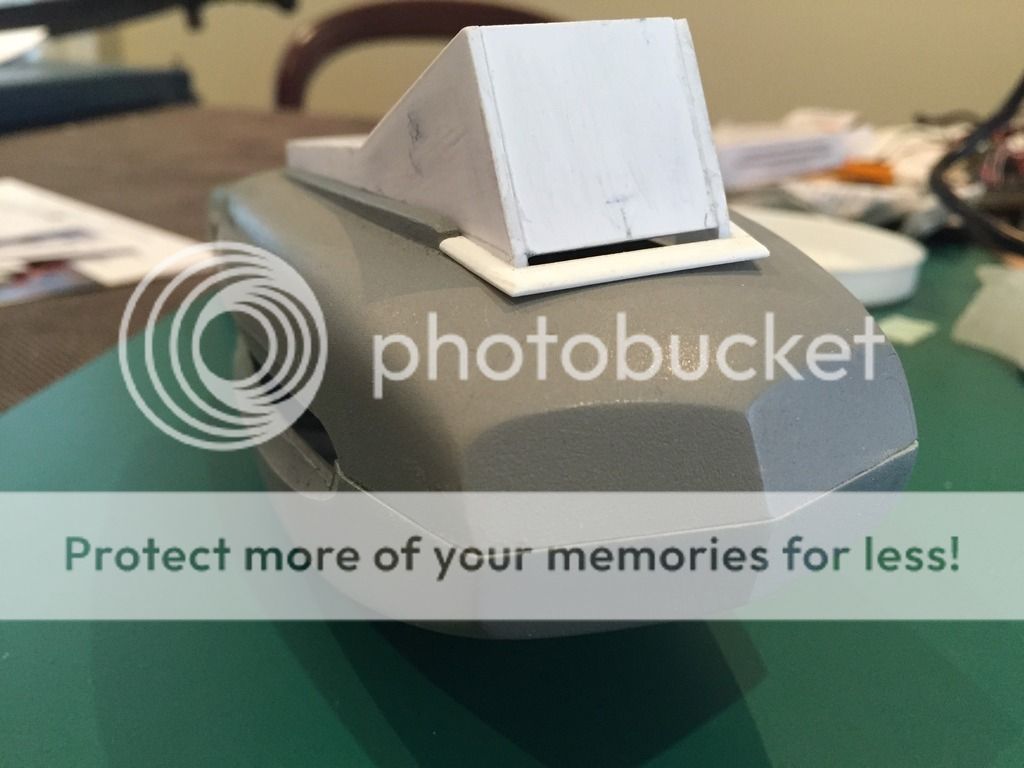
Then made a hole... probably voiding the warranty huh...
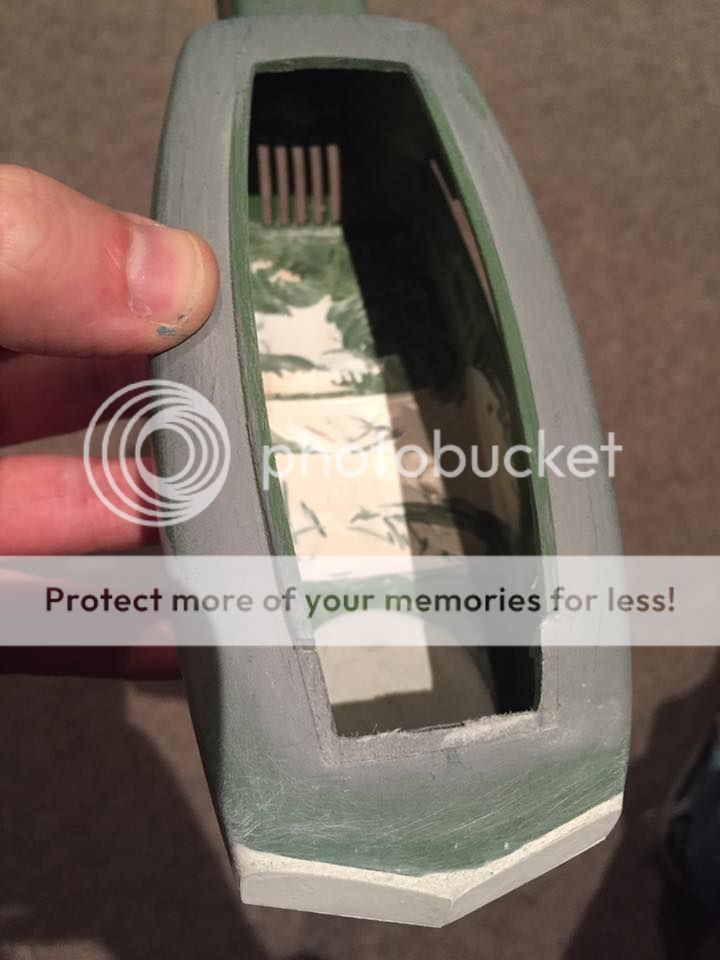
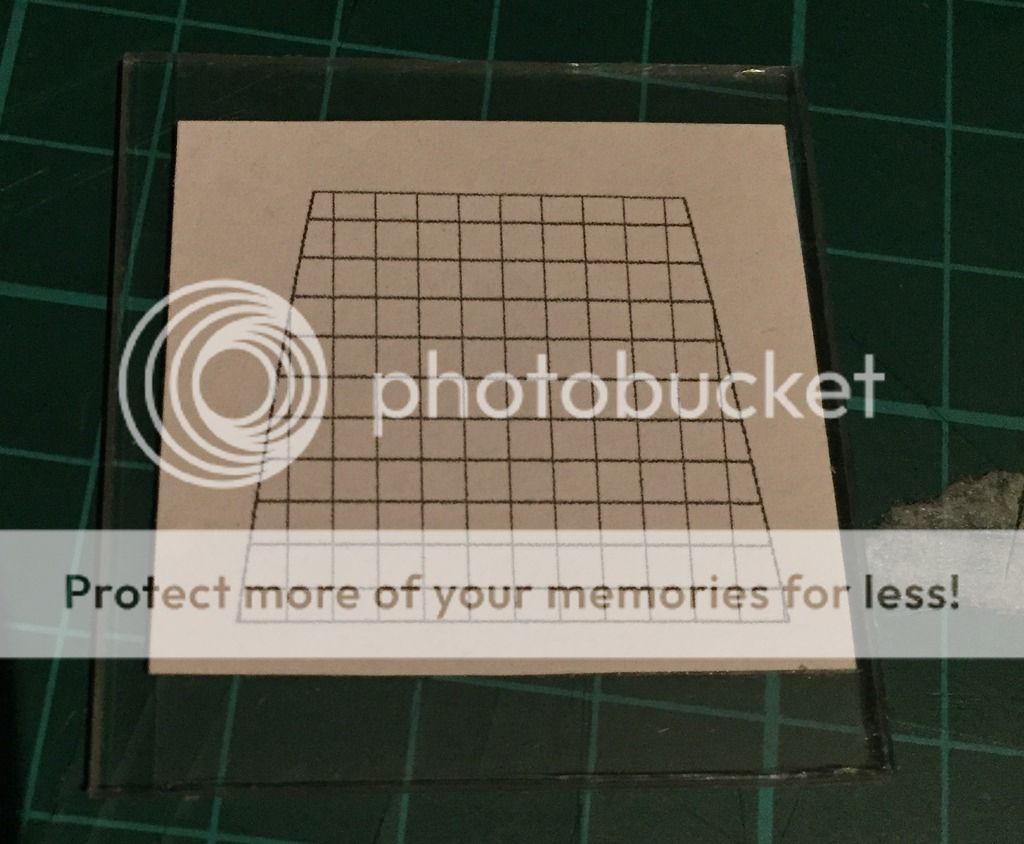
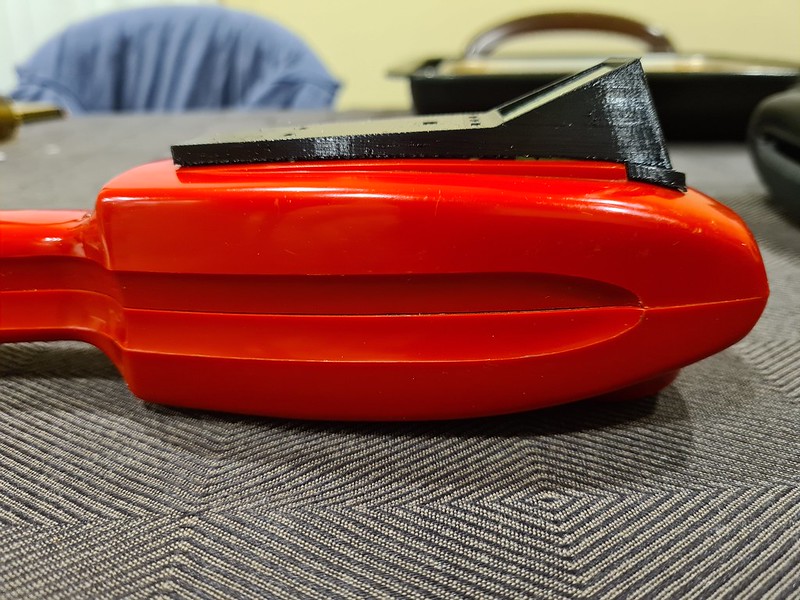
Next I made a temp mockup and using blueprints I made
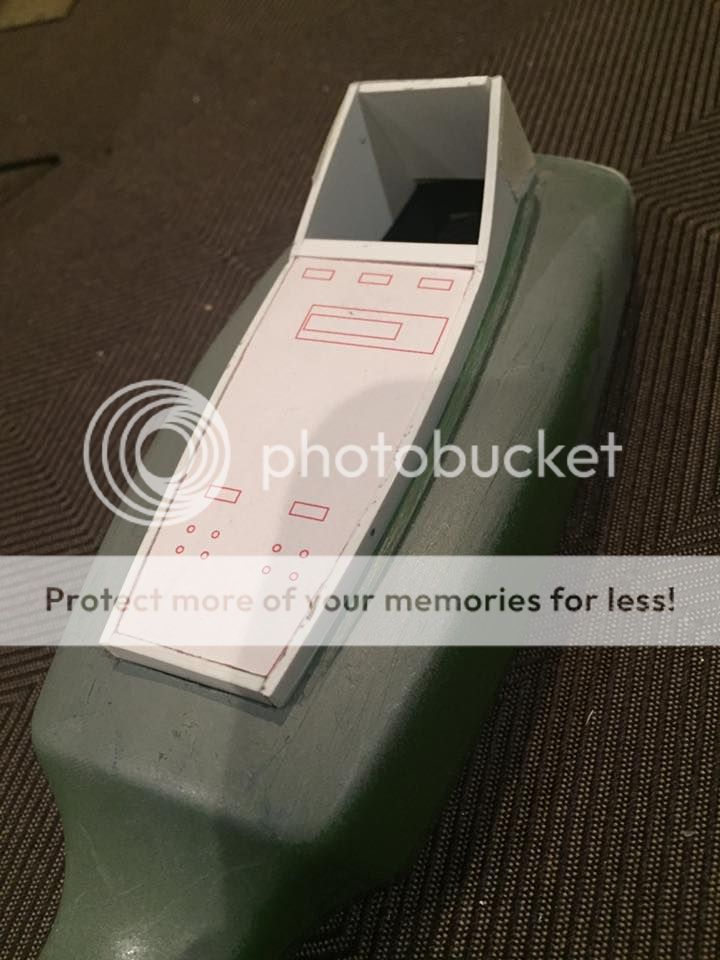
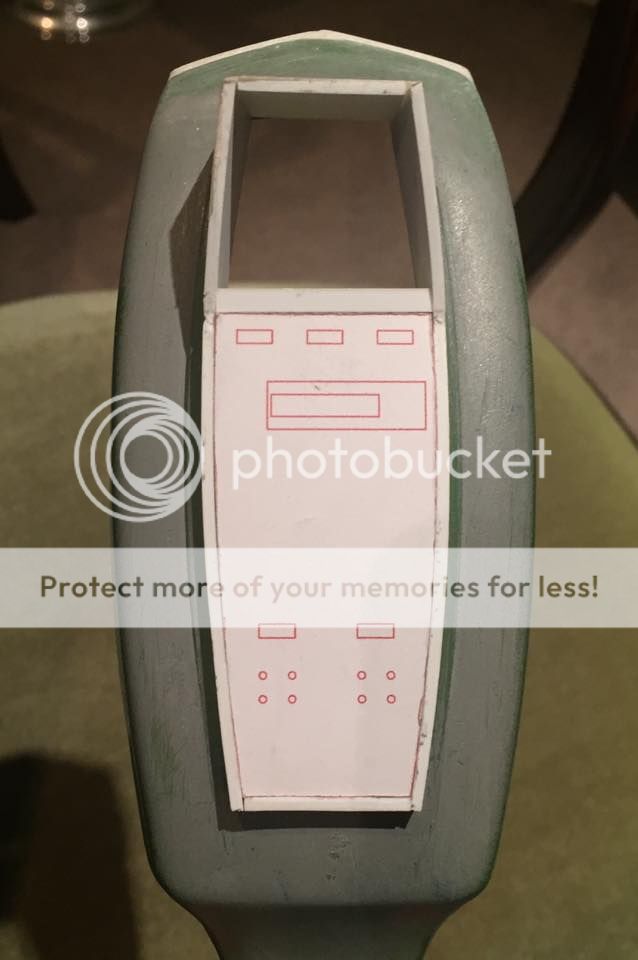
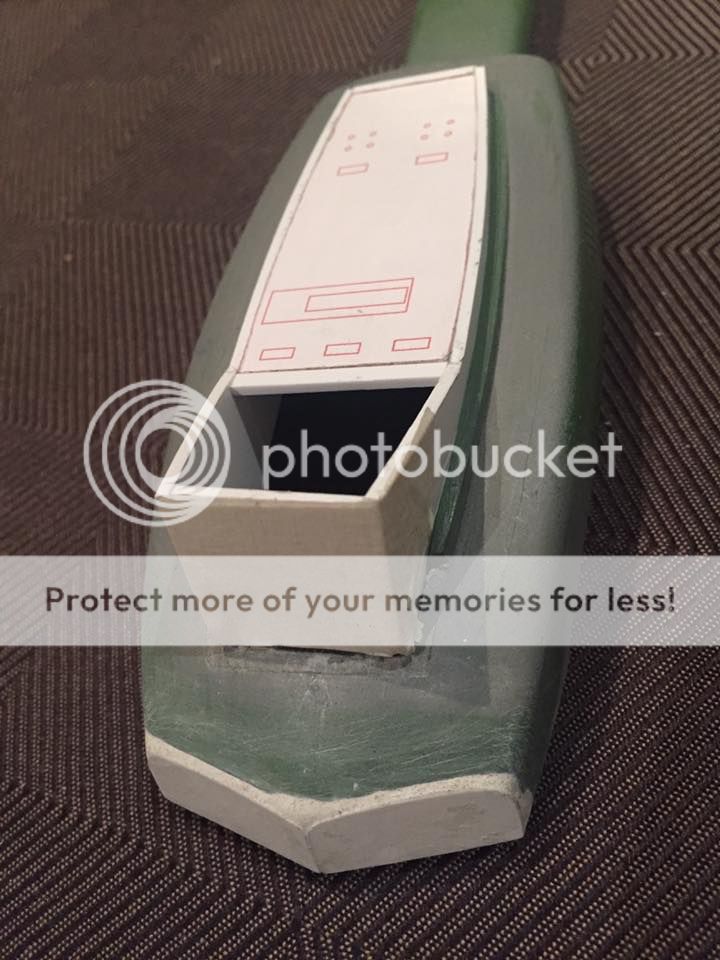
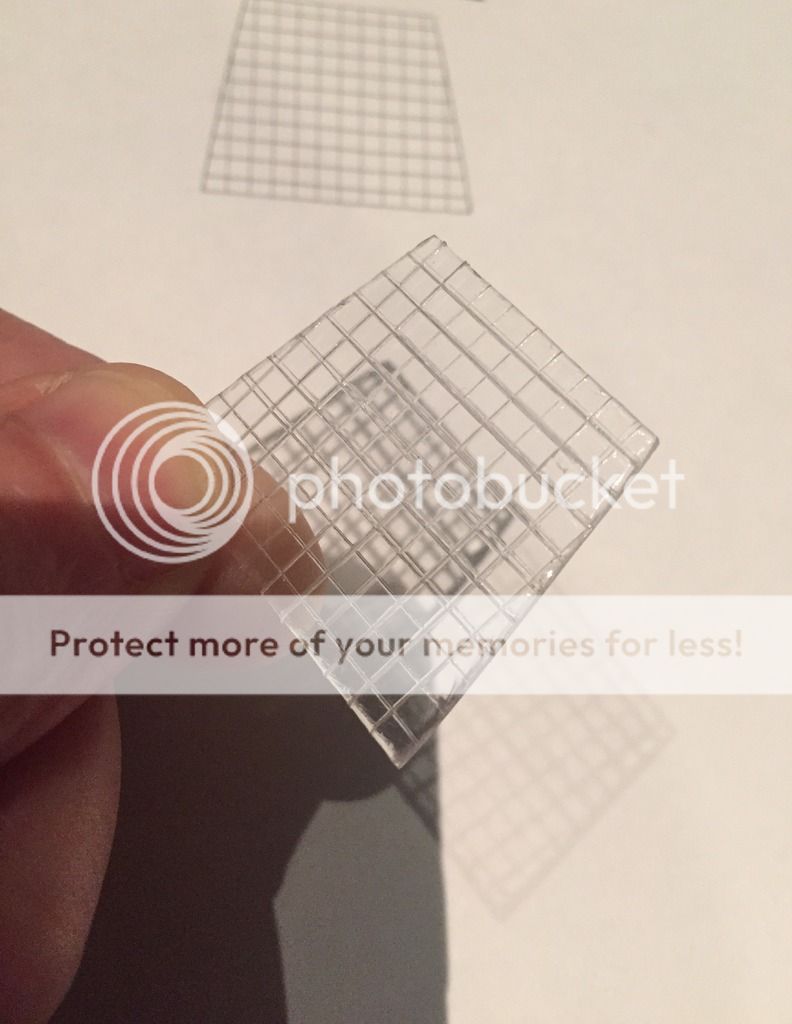
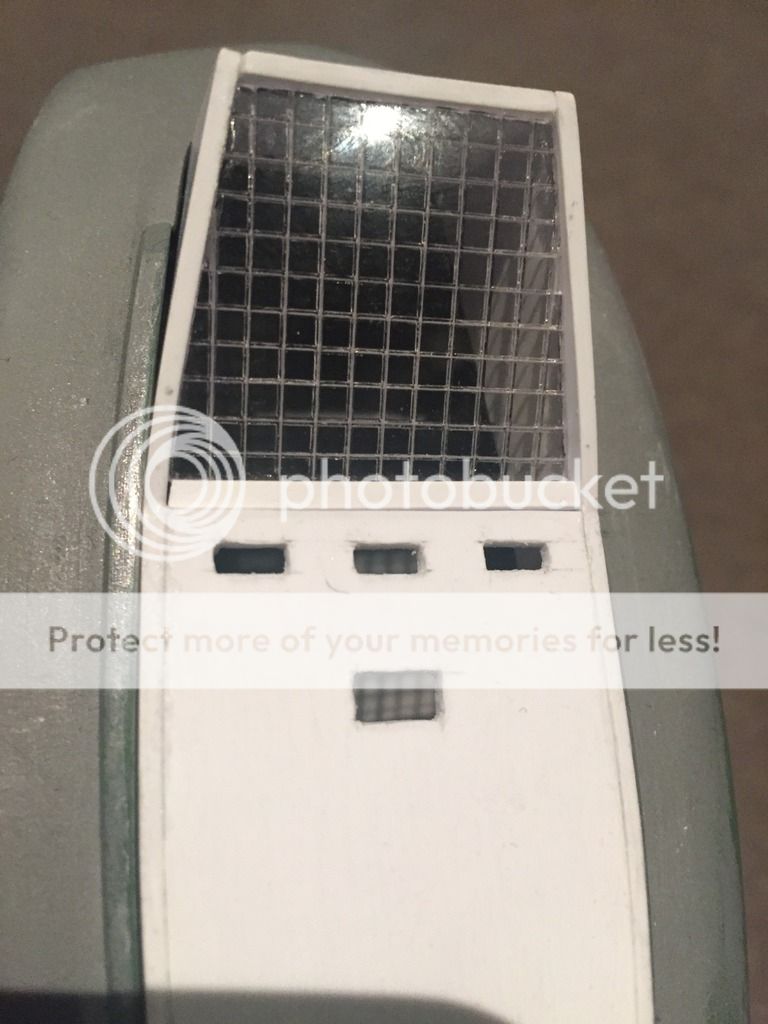
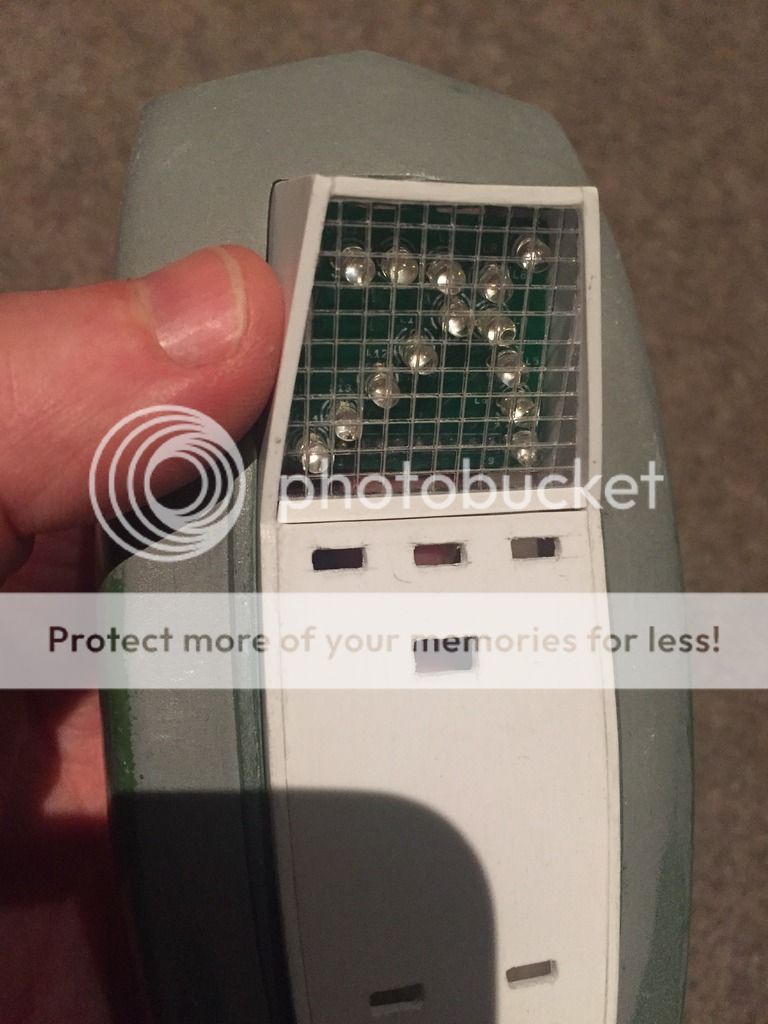
Then made a better one and glued it together and cut out the led holes


Using reference pictures I worked out where the wing holes were and made blueprints to cut them out


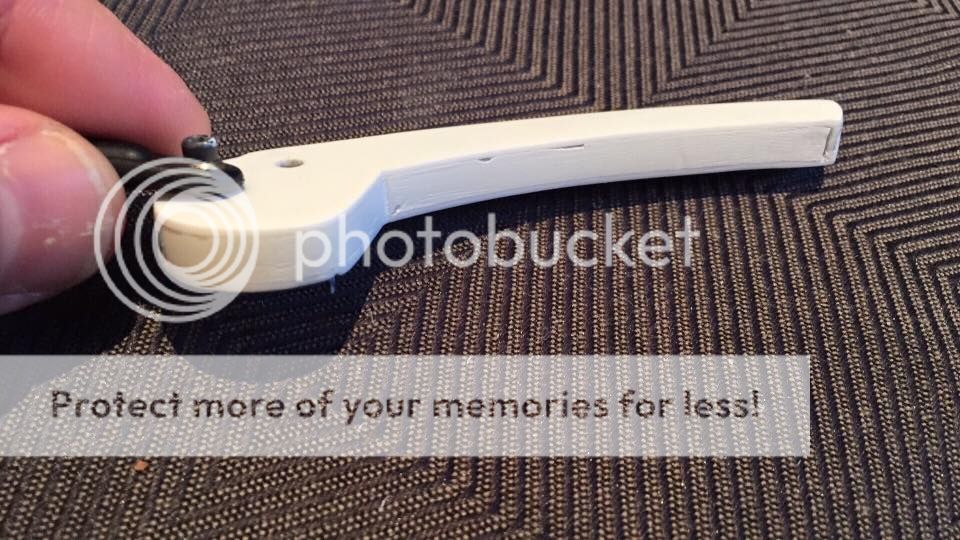
Just a quick test fit of the wings...
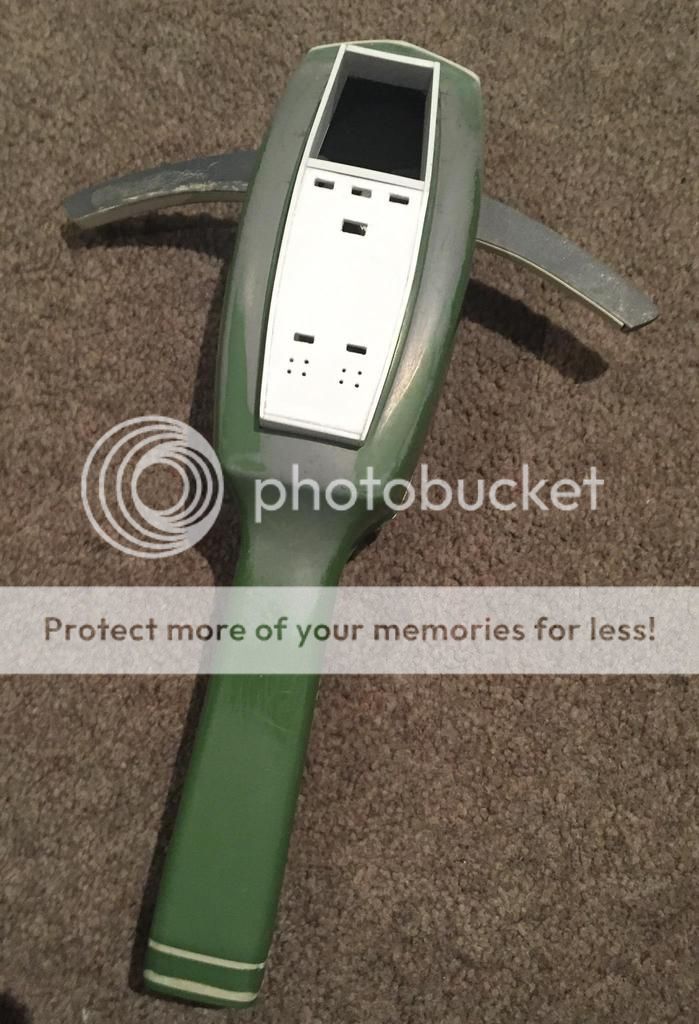

Then I sanded the front sharp lines again and this time I'm very happy with how it turned out
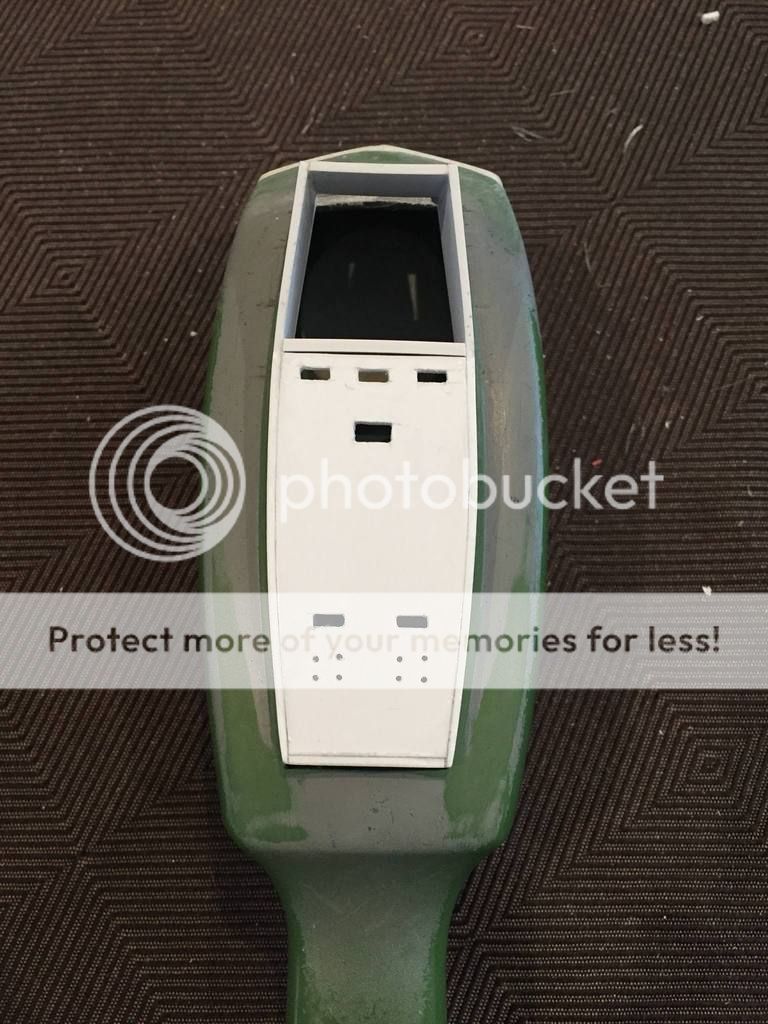
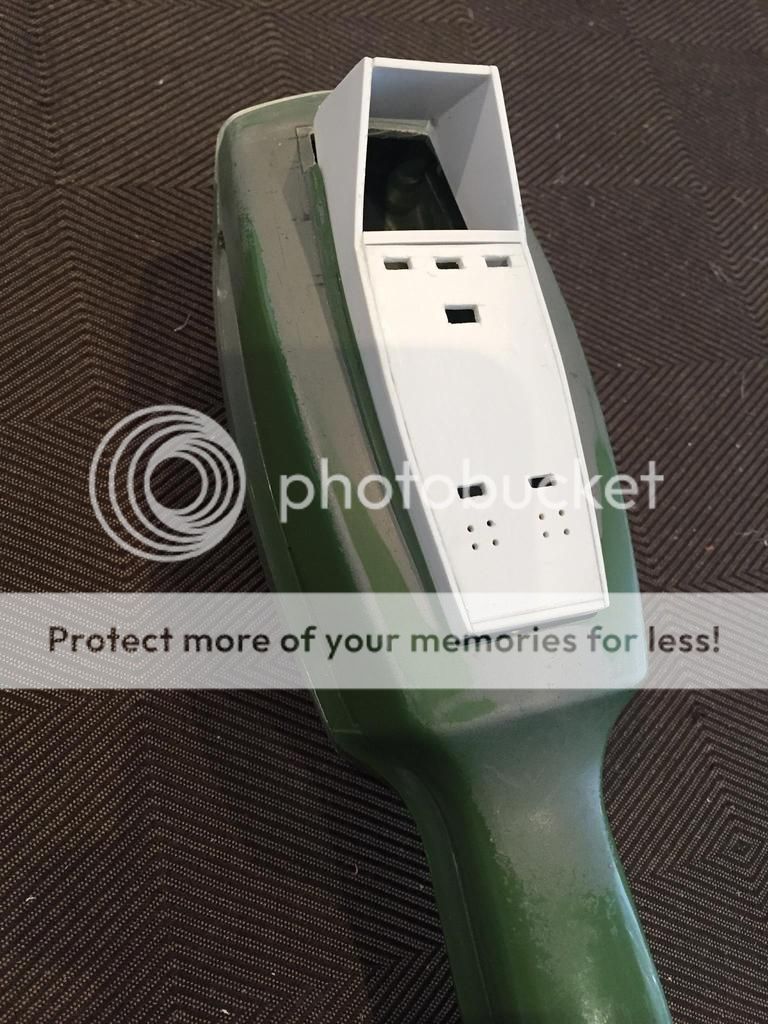
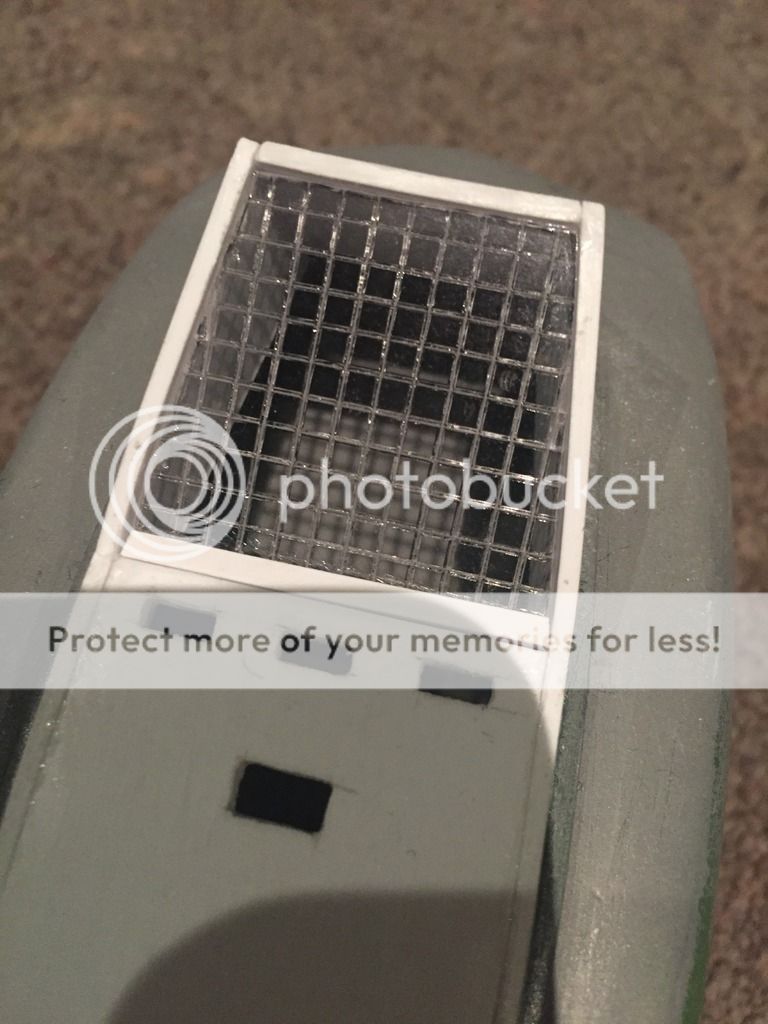
Also started making the rest of the shelf for the instrument panel


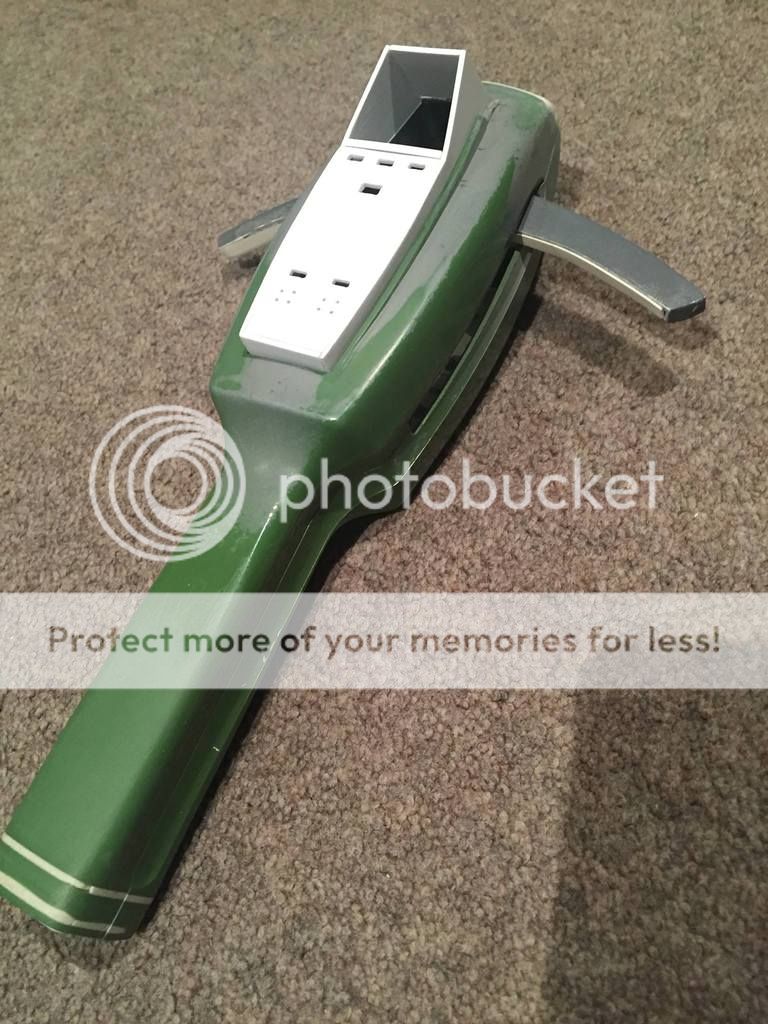
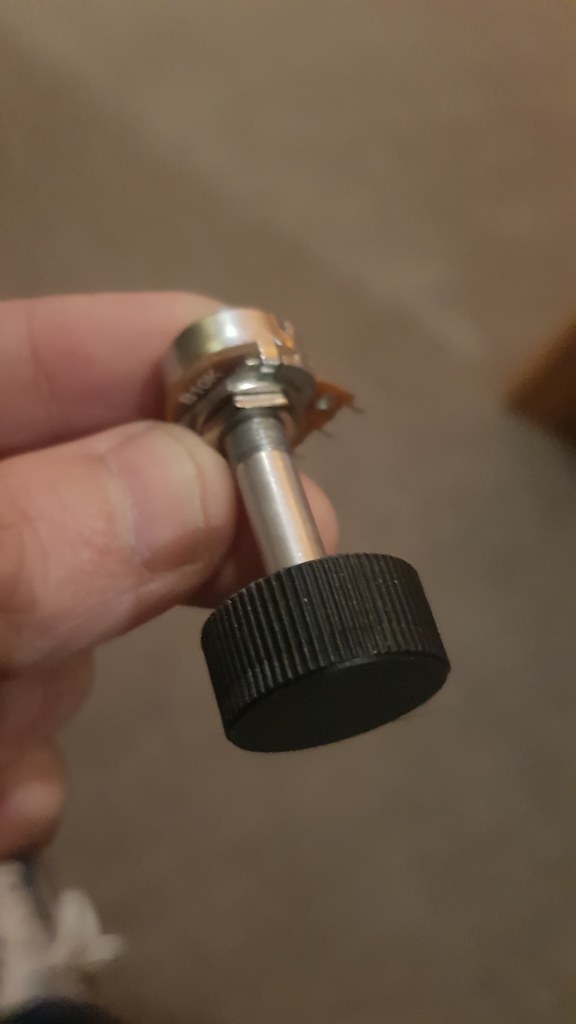
Cut the hole for the rotary switch and filled in the vents


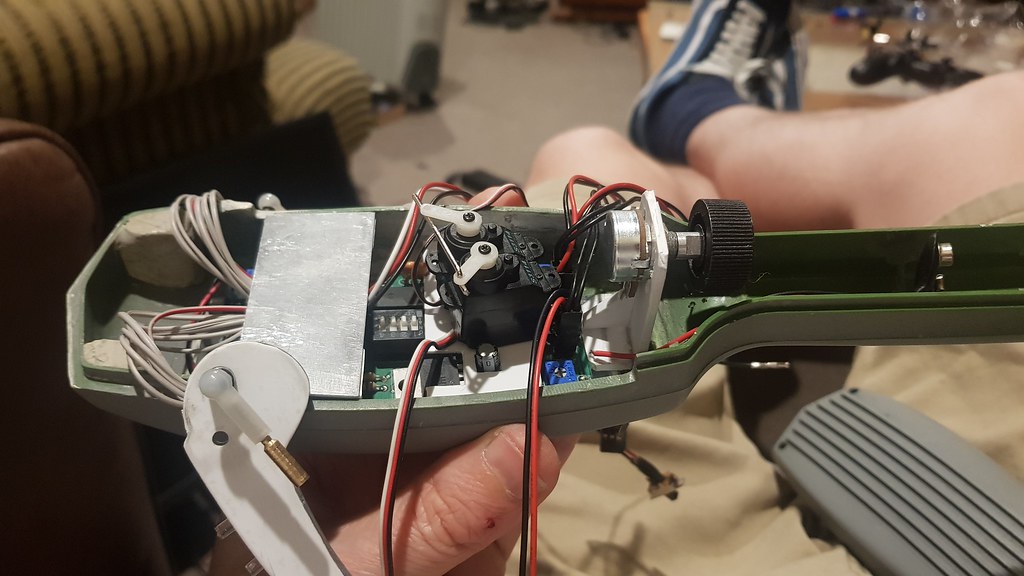
ANNNNnnnnd done!
So there you are a few months work and you guys are up to date with where I am on this thing!
I originally acquired the electronics kit when I backed the Mighty quite a few years ago and it's been sitting in a box gathering dust ever since. I originally purchased a Shell kit from an old member which looked pretty good but the wings were crap and it put me off putting it together.
For me the biggest pain in the arse was going to be fabricating new wings to fit the electronics. A couple of months ago I was in a ah F@$k it mood and decided to start, the next thing I knew I had suddenly purchased a green iona polisher and suddenly found myself pouring over reference pictures again
So... on with the pictures
Typical Pke snaps.... everyone takes those :p
Some of the first things I attacked was filling the inside of the handle and sanding off the flange plastic. Very similar to sharpening the front of the pke, this was a pain in the ass. There is very little room for error as it's easy to take too much off and ruin it. I also removed the buffing hole from the bottom of the polisher and filled that in as well.
Also sanded down the interior structure removing excess bit of plastic
After looking at many reference pictures and making blueprints and measurements in illustrator I started scratch building Pke wings out of 1mm styrene plastic. I wanted them to look as close as I could to the real wings but be able to pull them apart for repairs if need be. So I made the fit together like a puzzle, the bottom part which is glued onto the circuit board slots into the top piece and is held in place with the wing screw. The seam will be hopefully hidden when assembled.
Then had a crack at sharpening the front of the pke. This was much more stressful than the handle...
In the end I felt like id taken too much off , so after an attack of OCD I measured the shapes I wanted out of styrene and glued them in place on the front and then blended them in.
After looking at how the original Pke was put together I worked out a plan of attack for doing the instrument panel on the top. As the top of the shoe polisher is so curved it seemed the best way to get something box like to fit nicely was to cut a large hole and fit the panel inside. Looking at reference pictures this seemed to be what they might have done
So I made a few pen lines and measurements
Then made a hole... probably voiding the warranty huh...
Next I made a temp mockup and using blueprints I made
Then made a better one and glued it together and cut out the led holes
Using reference pictures I worked out where the wing holes were and made blueprints to cut them out
Just a quick test fit of the wings...
Then I sanded the front sharp lines again and this time I'm very happy with how it turned out
Also started making the rest of the shelf for the instrument panel
Cut the hole for the rotary switch and filled in the vents
ANNNNnnnnd done!
So there you are a few months work and you guys are up to date with where I am on this thing!
My current dual build thread ====> http://www.gbfans.com/community/viewtop ... =2&t=34777
gb1 Vhook discussion ===> http://www.gbfans.com/community/viewtop ... =2&t=29739
yea old gb1 halfmoon spacer ===> http://www.gbfans.com/community/viewtop ... =2&t=30726
My Old Mark1 Build ===> http://www.gbfans.com/community/viewtop ... =2&t=23581
Cray's gb1spacer thread===> http://www.gbfans.com/community/viewtop ... =2&t=34646


 - By tylergfoster